
Nothing beats the simple pleasure of a perfectly roasted yellow squash recipe that brings out the natural sweetness and creates those beautiful caramelized edges we all crave. As someone who's spent countless evenings experimenting in the kitchen, I can tell you that this roasted yellow squash recipe has become my go-to side dish that never fails to impress. The magic happens when those tender slices meet high heat, creating a golden-brown exterior while keeping the inside perfectly soft.
This roasted yellow squash recipe takes just 15 minutes from prep to plate, making it ideal for busy weeknights when you want something healthy and delicious without the fuss. Whether you're feeding a family or cooking for one, this roasted yellow squash recipe scales beautifully and pairs with practically everything from grilled chicken to pasta dishes.
Background & Why This Yellow Squash Tots Recipe Stands Out
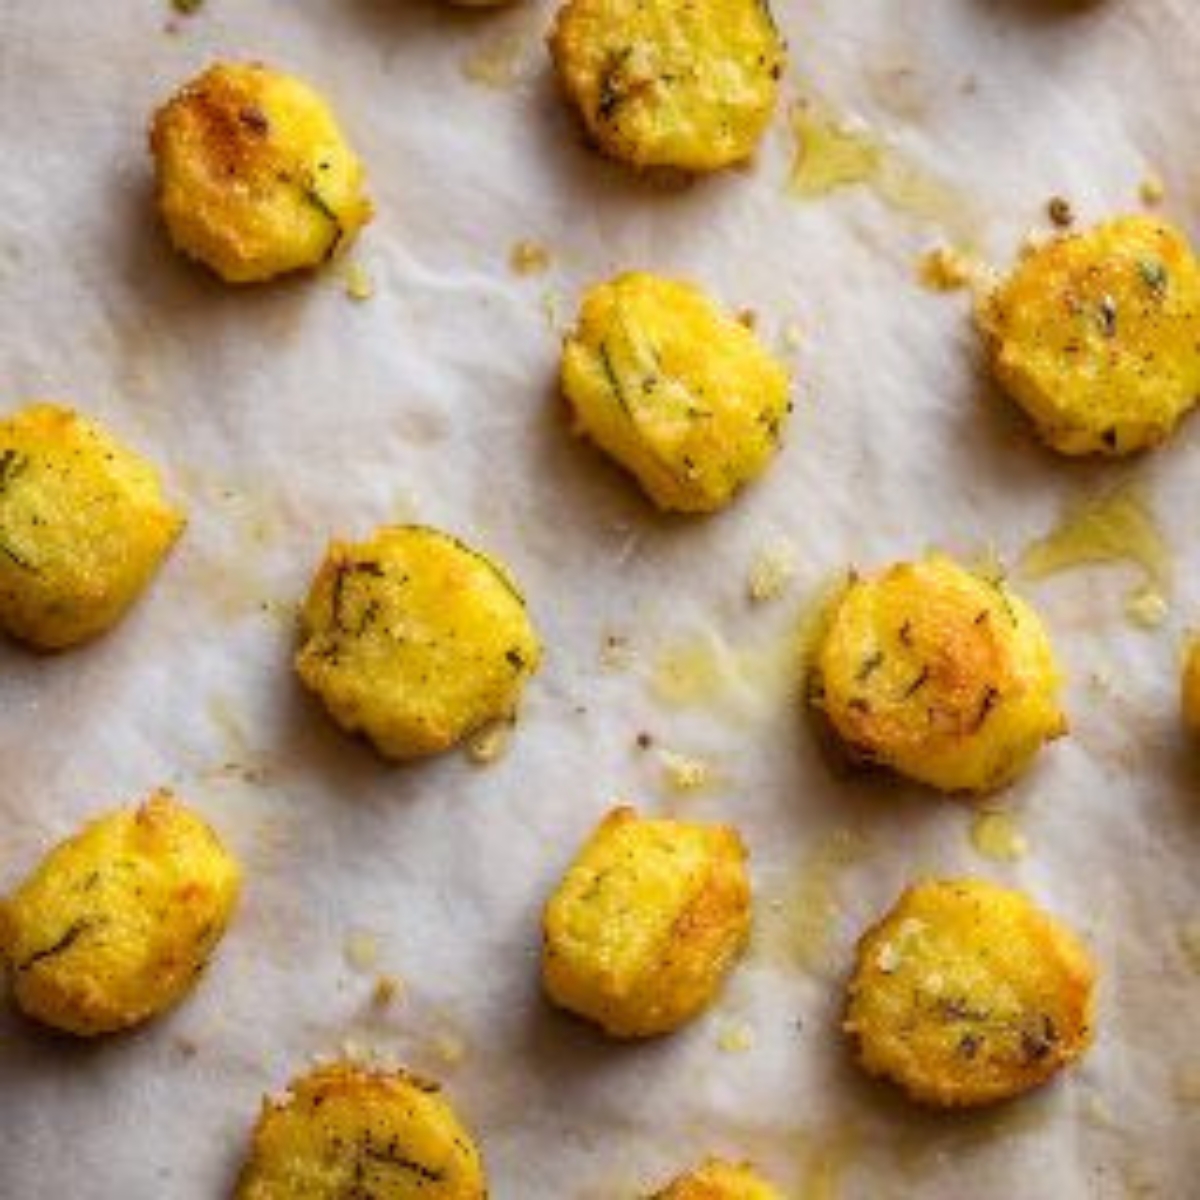
Summer squash season can be overwhelming, especially when your garden is producing more yellow squash than you know what to do with. That's exactly how I discovered this incredible yellow squash tots recipe; I was desperately searching for creative ways to use up my abundant harvest. After countless kitchen experiments, I perfected this technique that creates the most amazingly crispy exterior while keeping the inside tender and flavorful.
What sets these yellow squash tots apart from other veggie tot recipes is the perfect balance of texture and flavor. The secret lies in properly removing moisture from the squash and creating the ideal coating that gets golden and crispy in the oven. Unlike traditional potato tots, these yellow squash tots are naturally lower in carbs and higher in vitamins, making them a guilt-free indulgence. Plus, they're incredibly kid-friendly; I've served these to countless little ones who had no idea they were eating vegetables. The mild, slightly sweet flavor of yellow squash tots makes them the perfect gateway vegetable for picky eaters.
Jump to:
Ingredients
Main Ingredients
- Yellow squash (about 2 pounds), grated
- Salt (for drawing out moisture)
- Panko bread crumbs
- Grated Parmesan cheese
- Egg, beaten
- Garlic, minced
- Black pepper
- Paprika
- Olive oil
Optional Add-ins
- Cheddar cheese (for extra cheesiness)
- Fresh herbs (chives, parsley, or dill)
- Onion powder
- Red pepper flakes (for a little heat)
Substitution Notes: You can easily swap regular bread crumbs for panko, or use almond flour for a gluten-free option. Feel free to experiment with different cheeses like sharp cheddar or even nutritional yeast for a dairy-free version.

See recipe card for quantities.
Instructions
Prepare the Yellow Squash
- Wash and trim the ends of your yellow squash, then grate them using the large holes of a box grater or food processor.
- Place the grated squash in a large bowl and sprinkle with salt, mixing thoroughly.
- Let the salted squash sit for 15 minutes to draw out excess moisture.
- Transfer the squash to a clean kitchen towel or cheesecloth and squeeze firmly to remove as much liquid as possible.
Create the Tot Mixture
- In a large mixing bowl, combine the drained squash, panko bread crumbs, Parmesan cheese, and beaten egg.
- Add minced garlic, black pepper, and paprika to the mixture.
- Mix everything together until well combined and the mixture holds together when pressed.
- If the mixture seems too wet, add more bread crumbs; if too dry, add another beaten egg.
Shape and Prepare for Baking
- Preheat your oven to 425°F and line a baking sheet with parchment paper.
- Using your hands or a small cookie scoop, form the mixture into small tot-shaped cylinders about 1 inch long.
- Place the shaped tots on the prepared baking sheet, leaving space between each one.
- Lightly brush or drizzle the tots with olive oil for extra crispiness.
Bake to Golden Perfection
- Bake the yellow squash tots for 15 minutes, then carefully flip each tot using a spatula.
- Continue baking for another 10-12 minutes until golden brown and crispy on all sides.
- Remove from oven and let cool for 3-4 minutes before serving.
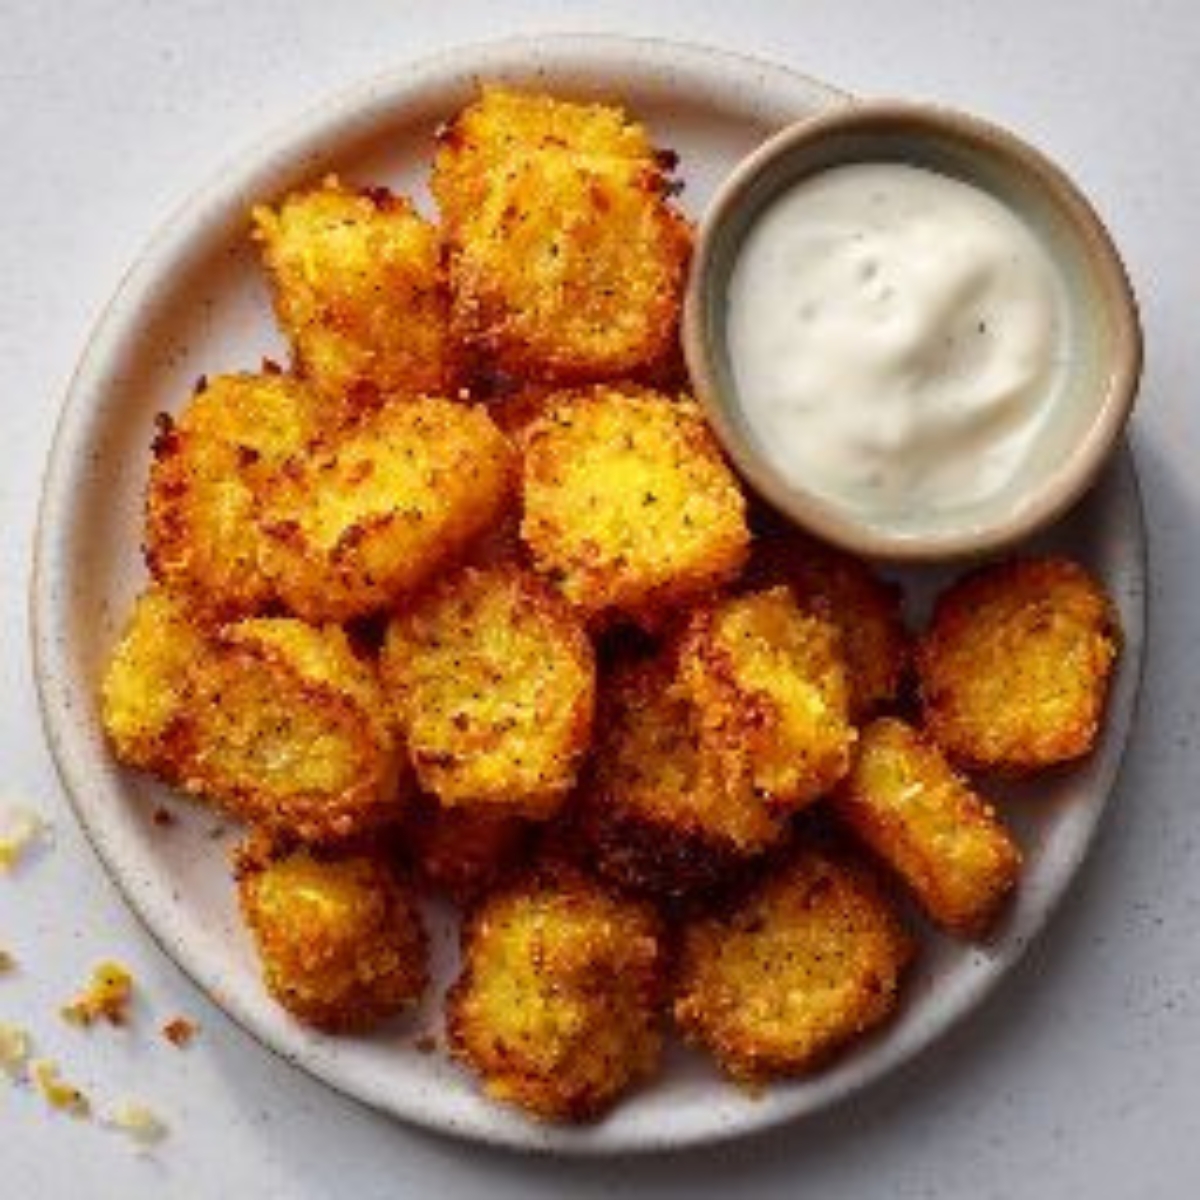
- Serve immediately while hot and crispy for the best texture and flavor.
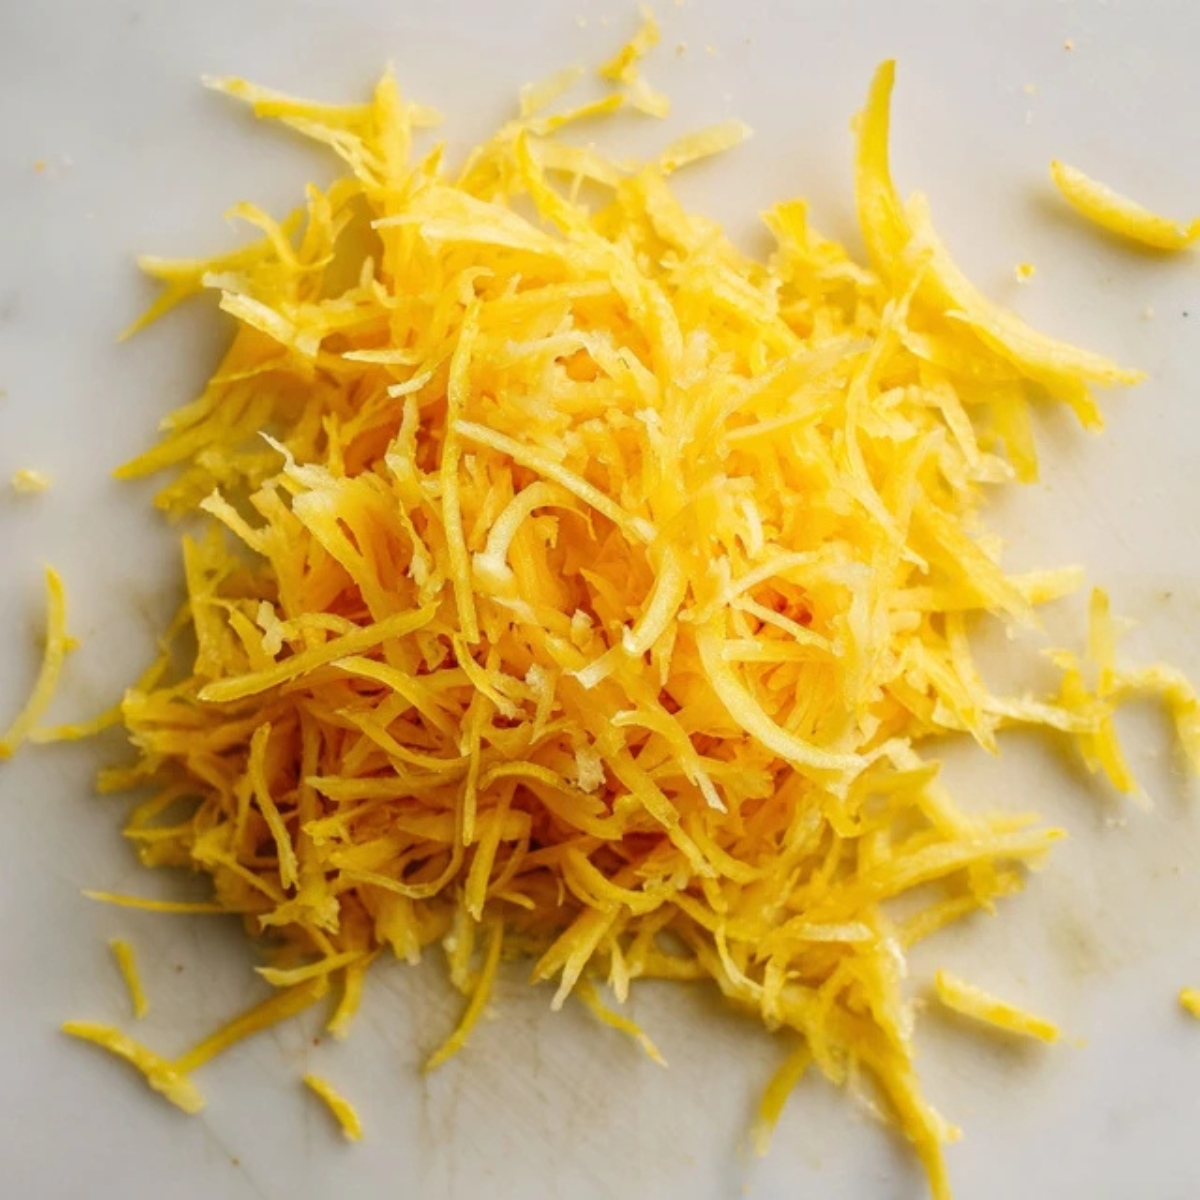
- Step 1: Prepare the Yellow Squash
Grate yellow squash and prepare for draining.
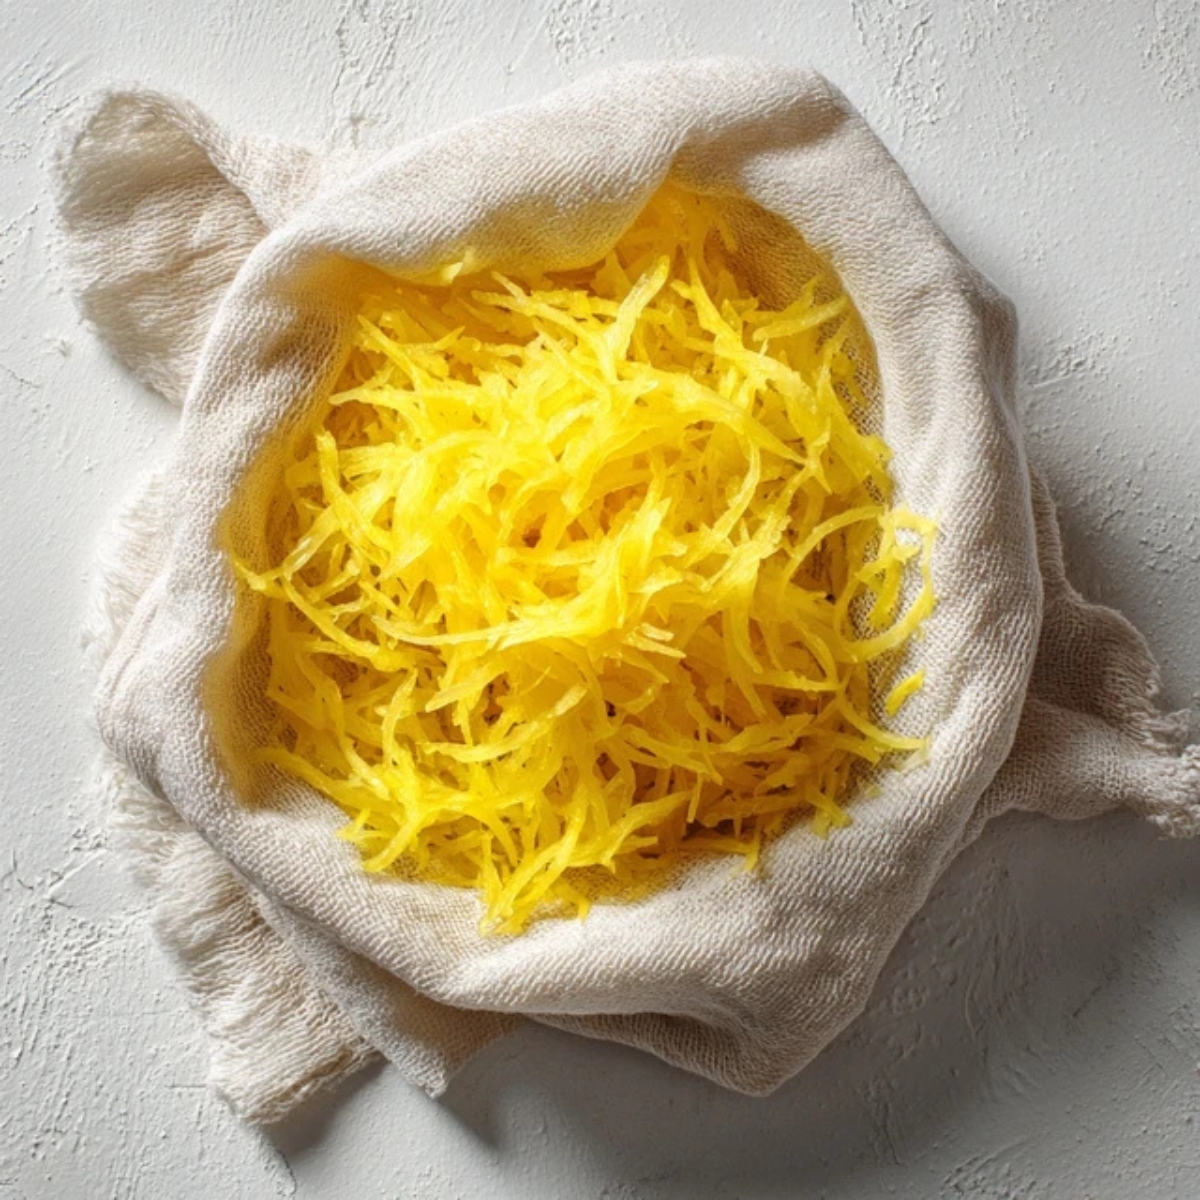
- Step 2: Create the Tot Mixture
Squeeze out excess moisture from squash.
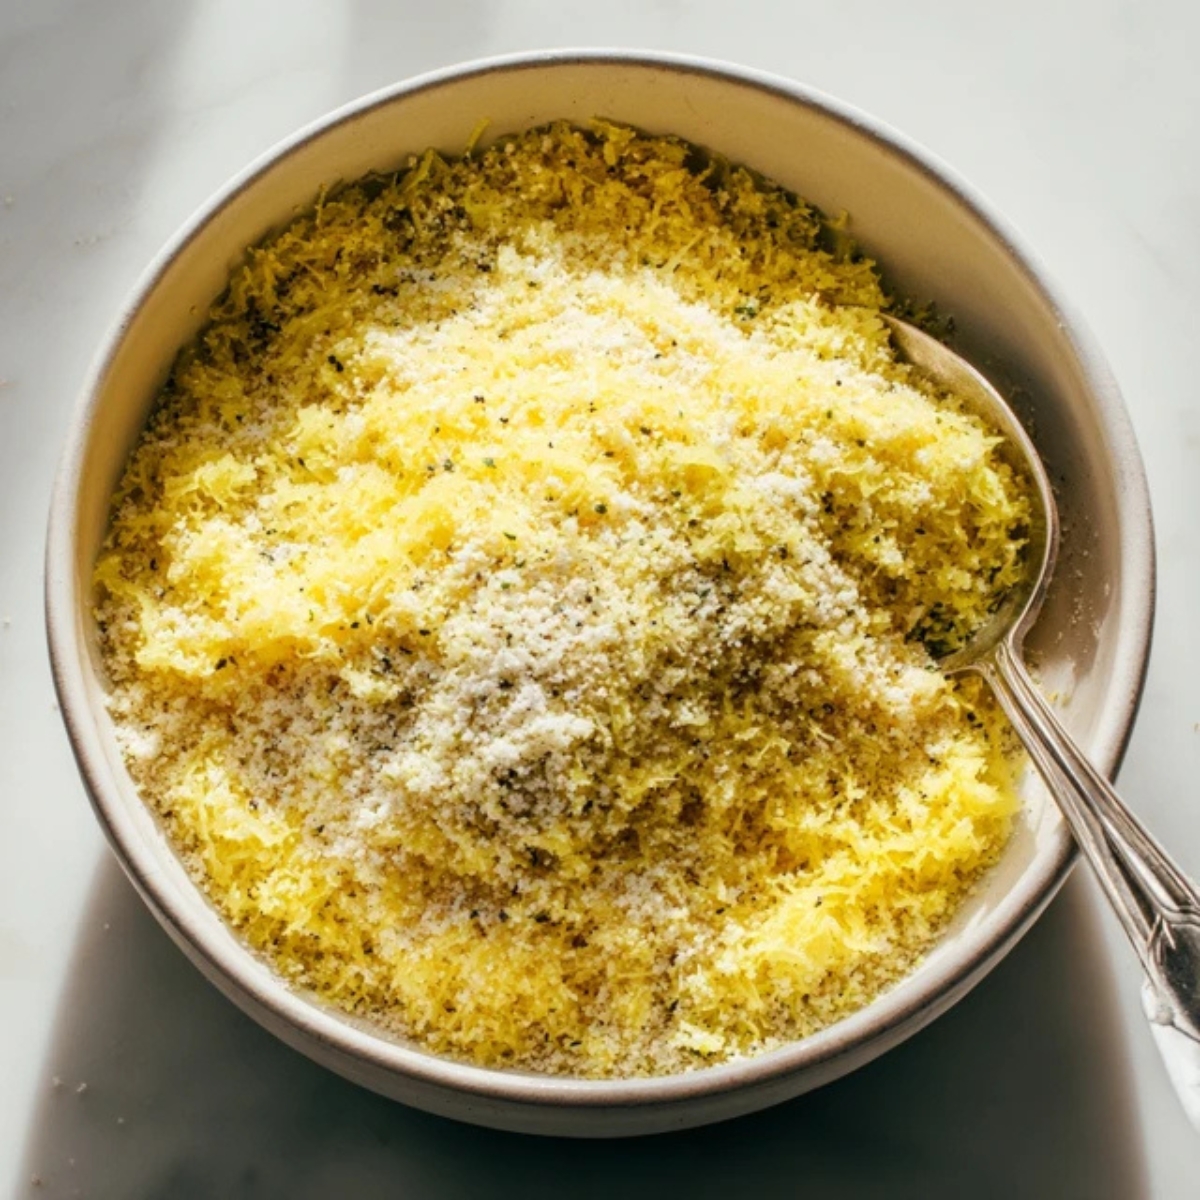
- Step 3: Shape and Prepare for Baking
Combine squash with breadcrumbs, cheese, egg, and spices.
- Step 4: Bake to Golden Perfection
Shape tots and bake until golden and crispy.
Expert Cooking Tips
Making perfect yellow squash tots requires attention to a few key details that can make or break your results. Here are my tried-and-true tips for success:
Moisture Control is Everything The biggest mistake people make is skipping the salting and draining step. Yellow squash contains a lot of water, and if you don't remove it properly, your tots will be soggy instead of crispy. After grating, salt the squash and let it sit for at least 15 minutes, then squeeze it in a clean kitchen towel until no more liquid comes out.
Binding Techniques
- Use room temperature eggs for better binding
- Don't overmix the ingredients; just combine until everything holds together
- If your mixture is too wet, add bread crumbs gradually until it reaches the right consistency
- Test one tot first; if it falls apart during baking, add more egg or cheese to the remaining mixture
Baking Success Tips
- Use parchment paper to prevent sticking
- Don't overcrowd the baking sheet; this creates steam and prevents crisping
- Flip halfway through baking for even browning
- For extra crispiness, place the baking sheet on the bottom rack of your oven
Recipe Variations & Substitutions
These yellow squash tots are incredibly adaptable to different dietary needs and flavor preferences. Here are some fantastic variations to try:
Dietary Adaptations For gluten-free tots, substitute the panko bread crumbs with almond flour or gluten-free breadcrumbs. The texture will be slightly different but equally delicious. Keto dieters can use pork rinds ground into fine crumbs instead of traditional bread crumbs for an ultra-low-carb version.
Flavor Variations
- Mediterranean Style: Add dried oregano, sun-dried tomatoes, and feta cheese
- Mexican Inspired: Include cumin, chili powder, and a touch of lime zest
- Italian Herb: Mix in fresh basil, oregano, and extra Parmesan
- Spicy Version: Add jalapeños, cayenne pepper, and pepper jack cheese
Cheese Options While Parmesan works beautifully, you can experiment with sharp cheddar, Gruyère, or even cream cheese for different flavors. For dairy-free options, nutritional yeast provides a cheesy flavor without actual dairy.
Mix-in Ideas Try adding finely diced bell peppers, green onions, or fresh herbs like chives or parsley. Corn kernels also make a wonderful addition for extra sweetness and texture.
Equipment Recommendations
Creating perfect yellow squash tots is much easier with the right tools. Here's what I recommend for best results:
- Box Grater or Food Processor: Essential for achieving uniform squash shreds
- Large Mixing Bowls: You'll need space to properly mix all ingredients
- Clean Kitchen Towels: Critical for removing moisture from the grated squash
- Cookie Scoop: Helps create uniform tot sizes for even cooking
- Parchment Paper: Prevents sticking and makes cleanup a breeze
- Rimmed Baking Sheet: Provides even heat distribution for crispy results
Storage & Meal Prep Tips
These yellow squash tots are perfect for meal prep and can be stored in several ways depending on your needs.
Refrigerator Storage Store cooked tots in an airtight container in the refrigerator for up to 4 days. To reheat, place them on a baking sheet and warm in a 350°F oven for 5-7 minutes until heated through and crispy again.
Freezer Storage For longer storage, freeze the uncooked formed tots on a baking sheet until solid, then transfer to freezer bags. They'll keep for up to 3 months. Bake directly from frozen, adding 5-10 extra minutes to the cooking time.
Make-Ahead Tips
- Prepare the mixture up to 24 hours in advance and store covered in the refrigerator
- Shape the tots in the morning and refrigerate until ready to bake
- Double the recipe and freeze half for quick future meals
Grandma's Secret That Changed Everything
Here's the game-changing secret that took my yellow squash tots from good to absolutely incredible: adding a tablespoon of cornstarch to the mixture. This simple addition creates an extra crispy exterior that stays crunchy even after cooling. I learned this trick from my grandmother, who always seemed to know the little details that made her cooking extraordinary.
The second secret involves the baking technique. Instead of just baking at one temperature, start your yellow squash tots at 425°F for the first 10 minutes, then reduce to 375°F for the remaining time. This initial high heat creates that perfect golden crust, while the lower temperature ensures the inside cooks through without burning the outside. It's a small adjustment that makes a huge difference in the final texture.
FAQ
What to do with a ton of yellow squash?
Besides making these delicious yellow squash tots, you can spiralize them into noodles, stuff them with rice and herbs, slice them for grilling, or shred them into fritters. They also freeze well when blanched first, so you can preserve your harvest for year-round use.
Is yellow squash an inflammatory food?
Yellow squash is actually anti-inflammatory due to its high content of antioxidants, vitamin C, and beta-carotene. These yellow squash tots provide beneficial nutrients that may help reduce inflammation in the body while being easy to digest.
Which is healthier, yellow squash or zucchini?
Both yellow squash and zucchini offer similar nutritional profiles with minimal calories and high water content. Yellow squash contains slightly more vitamin A, making these yellow squash tots a great choice for eye health and immune function.
What not to plant next to yellow squash?
Avoid planting yellow squash near other cucurbits like cucumbers or melons, as they can cross-pollinate. Also avoid potatoes and fennel, which can compete for nutrients and affect growth, potentially reducing your harvest for making yellow squash tots.
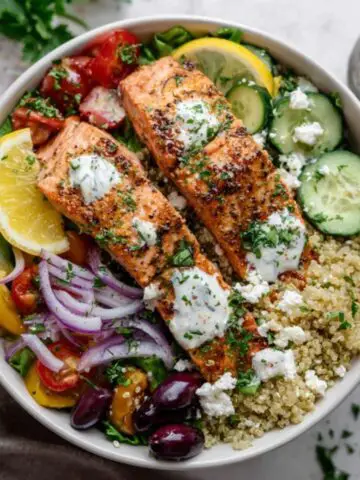
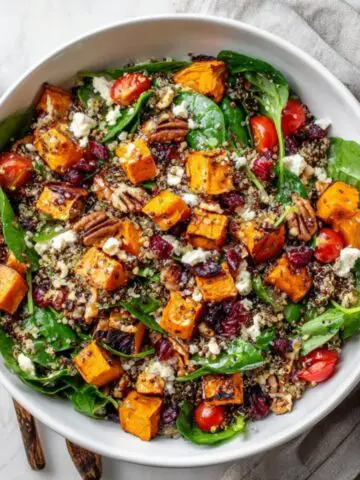
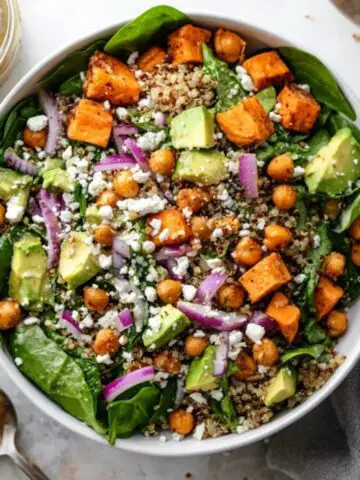
Perfect Pairings for Your Homemade Tots
These crispy yellow squash tots pair beautifully with so many dishes and occasions. Serve them as an appetizer with ranch dressing or garlic aioli, add them to lunch boxes for a healthy snack, or include them as a side dish alongside grilled chicken or fish. They're also fantastic for entertaining; guests always ask for the recipe when they try these golden, crispy bites.
For a complete meal experience, consider pairing your yellow squash tots with fresh salads that complement their crispy texture. Two of my absolute favorite pairings are Cucumber Sesame Salad with its refreshing crunch and nutty flavors, and Korean Cucumber Salad that adds a delightful spicy-tangy kick. These salads provide the perfect cooling contrast to the warm, savory yellow squash tots, creating a well-balanced and satisfying meal that celebrates fresh, seasonal ingredients.
With love from my kitchen to yours,
Taylor Monroe
Related
Looking for other recipes like this? Try these:


Pairing
These are my favorite dishes to serve with this Yellow Squash Tots recipe:


Yellow Squash Tots Recipe
Equipment
- Box grater
- Large mixing bowl
- Clean kitchen towel
- Cookie scoop
- Rimmed Baking Sheet
- Parchment paper
Ingredients
- 3 medium yellow squash grated, about 2 lbs
- 1 teaspoon salt for drawing out moisture
- ½ cup panko bread crumbs
- ½ cup grated Parmesan cheese
- 1 large egg beaten
- 2 cloves garlic minced
- ¼ teaspoon black pepper
- ¼ teaspoon paprika
- 2 tablespoon olive oil
- ¼ cup shredded cheddar cheese optional
- 1 tablespoon fresh herbs chives, parsley, dill (optional)
- ¼ teaspoon onion powder optional
- red pepper flakes pinch, optional
Instructions
- Grate squash, sprinkle with salt, and let rest for 15 minutes.
- Squeeze out excess moisture using a clean kitchen towel.
- In a large bowl, combine squash, panko, Parmesan, egg, garlic, pepper, paprika, and any optional seasonings.
- Shape mixture into 1-inch tots using a cookie scoop and place on a parchment-lined baking sheet.
- Brush or drizzle tots with olive oil.
- Bake at 400°F (200°C) for 15 minutes, flip, then bake for another 10–12 minutes until golden brown.
- Cool slightly before serving hot.


Leave a Reply