
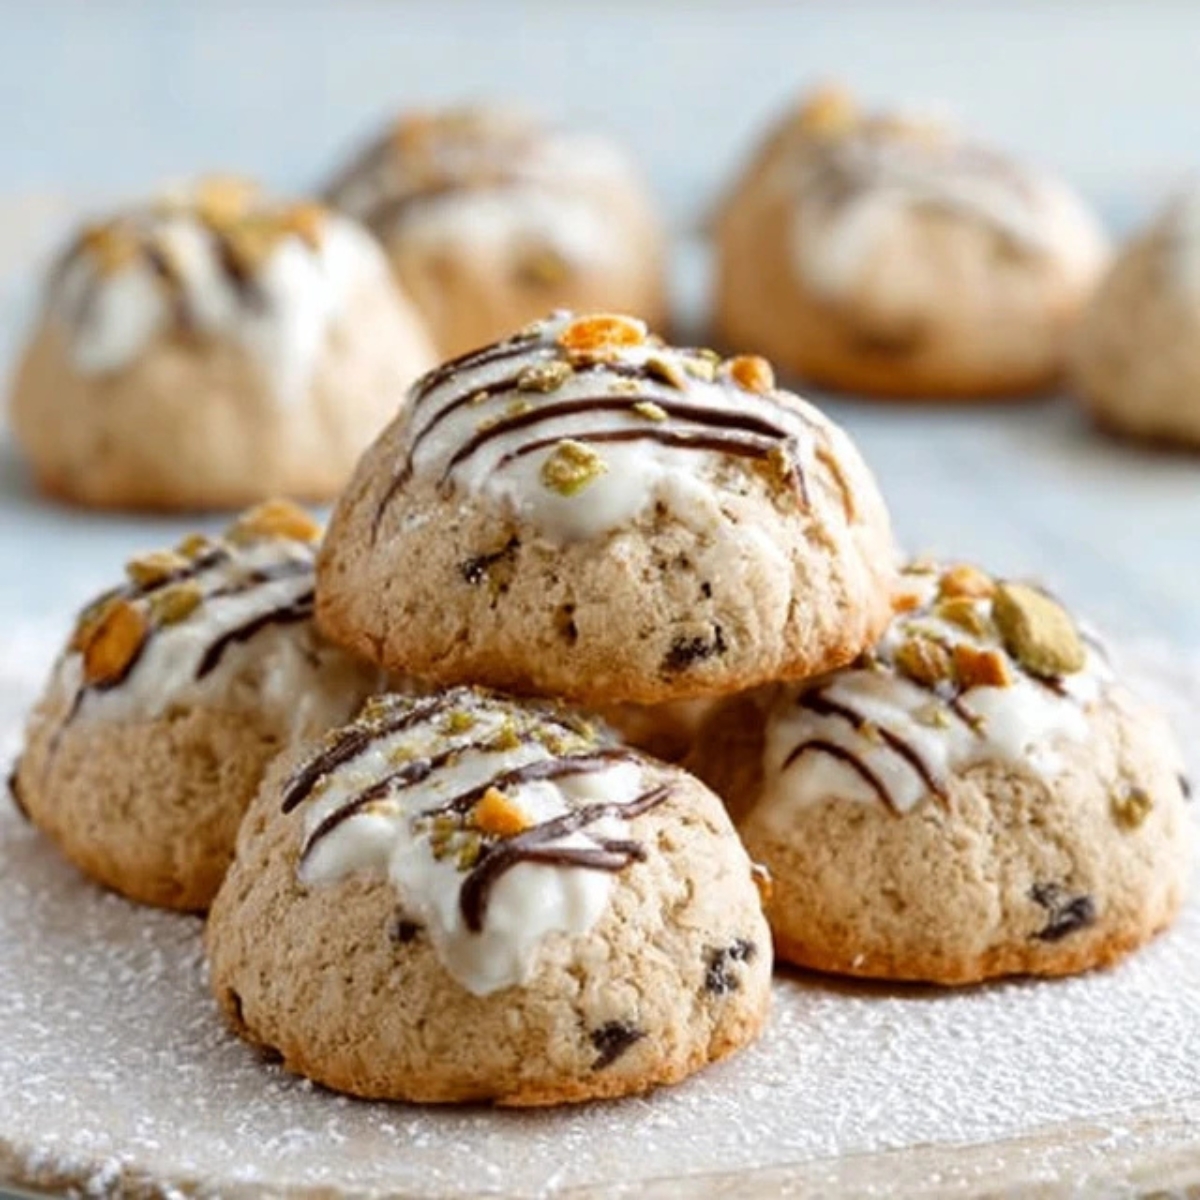
Welcome to your new favorite cookie recipe! These cannoli cookies capture all the magic of traditional Italian cannoli in a perfectly portable, bite-sized treat. As someone who's spent countless hours perfecting this cannoli cookies recipe, I can promise you'll fall in love with their creamy ricotta filling and delicate, crispy shells.
What makes these cannoli cookies so special is how they bring together the best of both worlds; the convenience of cookies with the sophisticated flavors of Sicily's most beloved dessert. Whether you're planning a special celebration or simply craving something sweet, these cannoli cookies deliver that authentic Italian bakery experience right from your own kitchen.
Background & Why This Recipe Stands Out
This cannoli cookies recipe has been passed down through generations of Italian families, and for good reason. Unlike traditional cannoli that require special equipment and advanced pastry skills, these cannoli cookies offer the same incredible taste in a much simpler format. The secret lies in creating the perfect balance between the tender cookie base and the rich, sweet filling that makes every bite absolutely divine.
What sets these cannoli cookies apart from other Italian desserts is their versatility and convenience. You can make them ahead of time for parties, pack them for travel, or enjoy them as an everyday treat. The combination of ricotta cheese, vanilla, and a hint of orange zest creates that authentic cannoli flavor profile, while the cookie format makes them perfect for sharing and serving at any gathering.
Jump to:
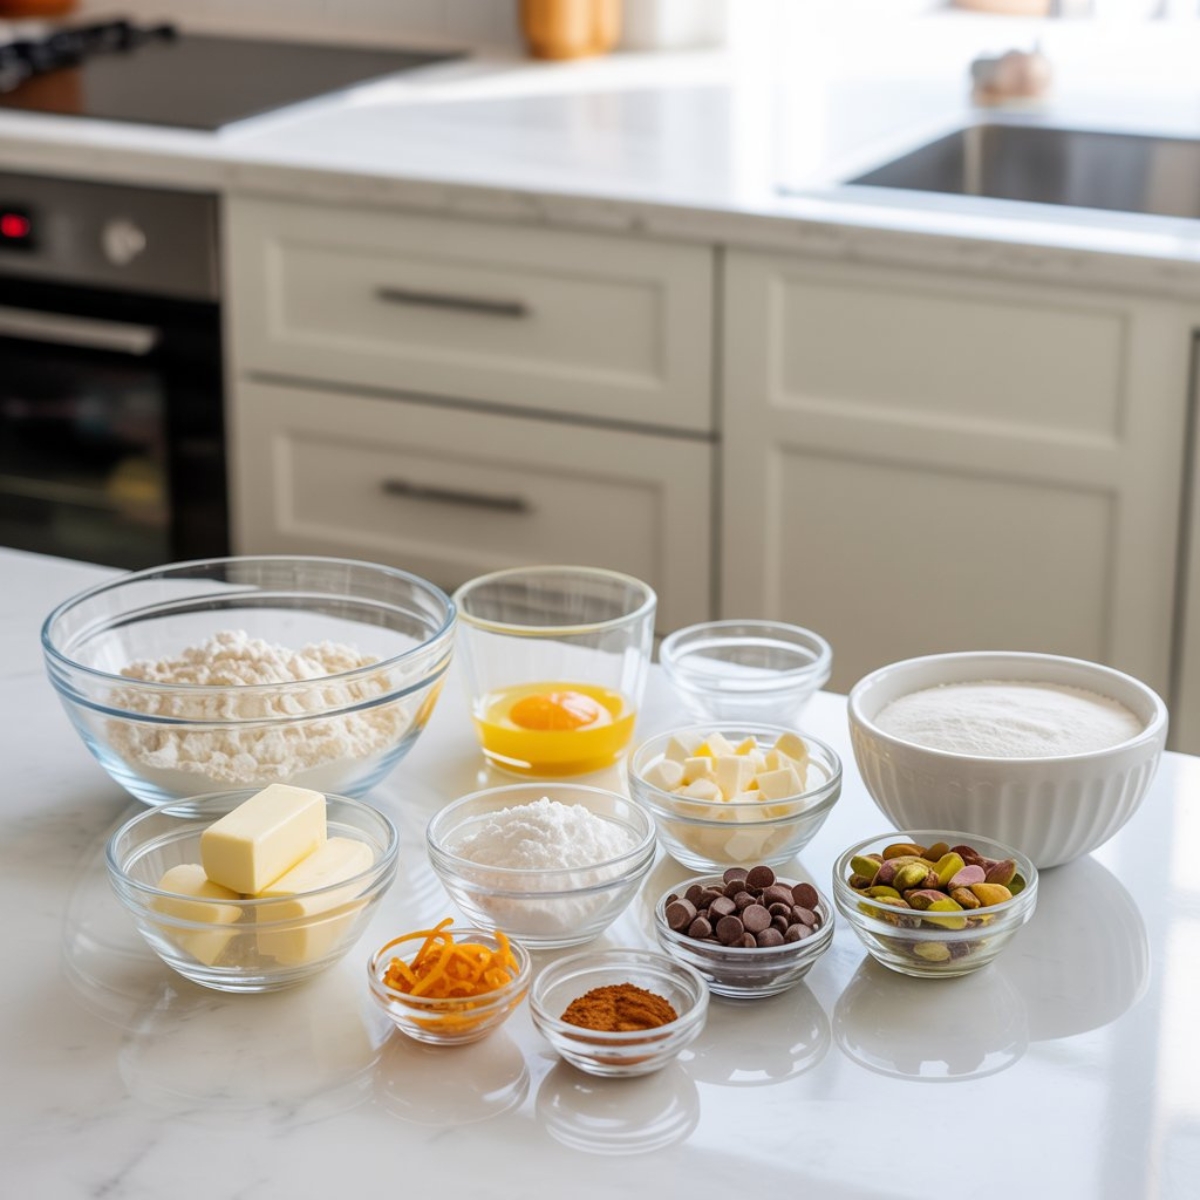
Ingredients
Cookie Base
- All-purpose flour
- Granulated sugar
- Unsalted butter, softened
- Egg
- Vanilla extract
- Baking powder
- Salt
- Milk
Cannoli Filling
- Whole milk ricotta cheese
- Powdered sugar
- Mini chocolate chips
- Vanilla extract
- orange zest
- Cinnamon
Finishing Touches
- Chopped pistachios (optional)
- Powdered sugar for dusting
See recipe card for quantities.
Instructions
Step 1: Prepare the Cookie Dough
- Preheat your oven to 350°F and line baking sheets with parchment paper.
- In a large bowl, cream together the softened butter and granulated sugar until light and fluffy.
- Beat in the egg and vanilla extract until well combined.
- In a separate bowl, whisk together flour, baking powder, and salt.
- Gradually add the dry ingredients to the wet ingredients, alternating with milk.
- Mix until a soft dough forms, being careful not to overmix.
Step 2: Shape and Bake the Cookies
- Roll the dough into small balls, about 1 tablespoon each.
- Place them on the prepared baking sheets, spacing them 2 inches apart.
- Using your thumb or a small spoon, create an indentation in the center of each cookie.
- Bake for 12-15 minutes until the edges are lightly golden.
- Allow cookies to cool completely on wire racks before filling.
Step 3: Make the Cannoli Filling
- In a medium bowl, combine ricotta cheese and powdered sugar.
- Mix in vanilla extract, orange zest, and cinnamon until smooth.
- Gently fold in the mini chocolate chips.
- Transfer the filling to a piping bag or zip-lock bag with the corner cut off.
- Refrigerate the filling for at least 30 minutes to firm up.
Step 4: Assemble Your Cannoli Cookies
- Pipe the chilled filling into the center of each cooled cookie.
- Sprinkle with chopped pistachios if desired.
- Dust lightly with powdered sugar just before serving.
- Arrange on a serving platter and enjoy immediately for best texture.
Expert Cooking Tips
Creating perfect cannoli cookies requires attention to a few key details that will make all the difference in your final result.
Temperature Control is Key Keep your ricotta filling chilled until ready to use. This prevents the cookies from becoming soggy and maintains that perfect creamy texture. Room temperature ricotta tends to be too loose and won't hold its shape when piped.
Cookie Consistency Matters Don't overbake your cookie bases; they should be just set with lightly golden edges. They'll continue to cook slightly on the hot pan after removal from the oven. The perfect cannoli cookies have a tender, slightly crisp exterior that complements the creamy filling.
Filling Timing Tips
- Assemble these treats no more than 2 hours before serving for optimal texture
- If making ahead, store cookie bases and filling separately
- Use a piping bag for professional-looking results
- Add chocolate chips to filling just before assembly to prevent bleeding
Recipe Variations & Substitutions
Transform your basic cannoli cookies into exciting new flavors with these creative variations.
Flavor Variations Try lemon zest instead of orange for a bright, citrusy twist. For chocolate lovers, add 2 tablespoons of cocoa powder to the cookie dough for chocolate cannoli cookies. Almond extract can replace vanilla for a more traditional Italian flavor profile.
Dietary Adaptations
- Gluten-Free: Substitute almond flour for regular flour (use 1 ¾ cups)
- Sugar-Free: Use powdered erythritol in place of powdered sugar
- Dairy-Free: Replace ricotta with cashew cream and use vegan butter
- Lower Fat: Use part-skim ricotta and reduce butter to ¼ cup
Creative Add-Ins
- Mini chocolate chips in both cookie and filling
- Chopped pistachios mixed into the dough
- A drizzle of melted chocolate over finished cookies
- Crushed amaretti cookies for extra Italian flair
Equipment Recommendations
The right tools make creating cannoli cookies much easier and ensure consistent results every time.
Essential Equipment A stand mixer or hand mixer is crucial for properly creaming butter and sugar. Cookie scoops help create uniform sizes, while piping bags give you professional-looking filling application. Parchment paper prevents sticking and ensures even baking.
Helpful Additions Wire cooling racks allow proper air circulation, preventing soggy bottoms. A small offset spatula helps create perfect indentations in cookies. Fine-mesh sieves are perfect for dusting powdered sugar evenly over finished cannoli cookies.
Storage & Meal Prep Tips
Proper storage keeps your cannoli cookies fresh and delicious for days.
Short-Term Storage Store assembled cookies in the refrigerator for up to 2 days in an airtight container. Place parchment paper between layers to prevent sticking. For best results, dust with powdered sugar just before serving.
Make-Ahead Strategy Bake cookie bases up to 1 week in advance and store in airtight containers at room temperature. Prepare filling up to 3 days ahead and refrigerate. This approach gives you fresh cannoli cookies in minutes when you're ready to serve.
Freezing Options
- Cookie bases freeze for up to 3 months
- Thaw at room temperature for 30 minutes before filling
- Never freeze assembled cookies as the filling will become watery
- Label containers with dates for easy organization
Grandma's Secret That Changes Everything
Here's the game-changing tip that transforms ordinary cookies into extraordinary cannoli cookies: always strain your ricotta cheese through a fine-mesh sieve for at least 2 hours before using. This removes excess moisture and creates the silky, dense texture that makes authentic Italian cannoli cookies so irresistible.
The second secret involves adding a tiny pinch of instant espresso powder to your filling. This doesn't make the cannoli cookies taste like coffee; instead, it deepens all the other flavors and adds that mysterious something that keeps people coming back for more. This technique has been used in Italian bakeries for generations and is the difference between good and unforgettable.
FAQ
Do cannoli cookies need to be refrigerated?
Yes, assembled cannoli cookies should be refrigerated due to the fresh ricotta filling. Store them in an airtight container for up to 2 days to maintain food safety and optimal texture.
What is a fun fact about cannolis?
Traditional cannoli originated in Sicily during Arab rule and were originally made only during Carnival season. The tube shape represents fertility, and cannoli cookies carry on this festive tradition in a more convenient form.
Does a cannoli cake need to be refrigerated?
Like cannoli cookies, any dessert containing fresh ricotta cheese must be refrigerated. The dairy content requires proper cold storage to prevent spoilage and maintain freshness.
Should cannolis be served cold or room temperature?
Cannoli cookies are best served slightly chilled, about 15 minutes out of the refrigerator. This temperature allows the flavors to shine while maintaining the perfect creamy texture of the ricotta filling.
Sweet Endings Worth Sharing
These cannoli cookies represent everything beautiful about Italian baking; simple ingredients transformed into something magical through technique and love. The combination of tender cookies and creamy ricotta filling creates a dessert that's both elegant enough for special occasions and comforting enough for everyday enjoyment. Every bite delivers that perfect balance of textures and flavors that makes cannoli cookies so beloved.
Whether you're continuing your Italian dessert journey or just beginning to explore these wonderful flavors, these cannoli cookies will quickly become a household favorite. For your next baking adventure, try our decadent Twix Cookies Recipe for another crowd-pleasing treat, or explore our rich Brownie Bites Recipe when you're craving chocolate perfection. Both recipes pair beautifully with these Italian-inspired cookies for an impressive dessert spread.
Related
Looking for other recipes like this? Try these:


Pairing
These are my favorite dishes to serve with this cannoli cookies recipe:


Cannoli Cookies
Equipment
- Stand mixer or hand mixer
- Mixing bowls
- Cookie scoop
- Parchment paper
- Wire cooling racks
- Piping Bag
- Fine-mesh sieve
Ingredients
Cookie Base
- 2 cups all-purpose flour
- ½ cup granulated sugar
- ½ cup unsalted butter softened
- 1 large egg
- 1 teaspoon vanilla extract
- ½ teaspoon baking powder
- ¼ teaspoon salt
- 2 tablespoon milk
Cannoli Filling
- 1 ½ cups whole milk ricotta cheese strained for 2 hours
- ½ cup powdered sugar
- ¼ cup mini chocolate chips
- 1 teaspoon vanilla extract
- ½ teaspoon orange zest
- ¼ teaspoon cinnamon
Finishing Touches
- ½ cup chopped pistachios optional
- extra powdered sugar for dusting
Instructions
- Cream butter and sugar, add egg and vanilla, then mix in dry ingredients alternating with milk.
- Roll dough into balls, place on sheet, and press indentations in centers.
- Bake at 350°F for 12–15 minutes until lightly golden. Cool completely.
- Combine ricotta, sugar, vanilla, zest, cinnamon, and chocolate chips. Chill 30 minutes.
- Pipe filling into cooled cookies, top with pistachios, and dust with powdered sugar.


Leave a Reply