
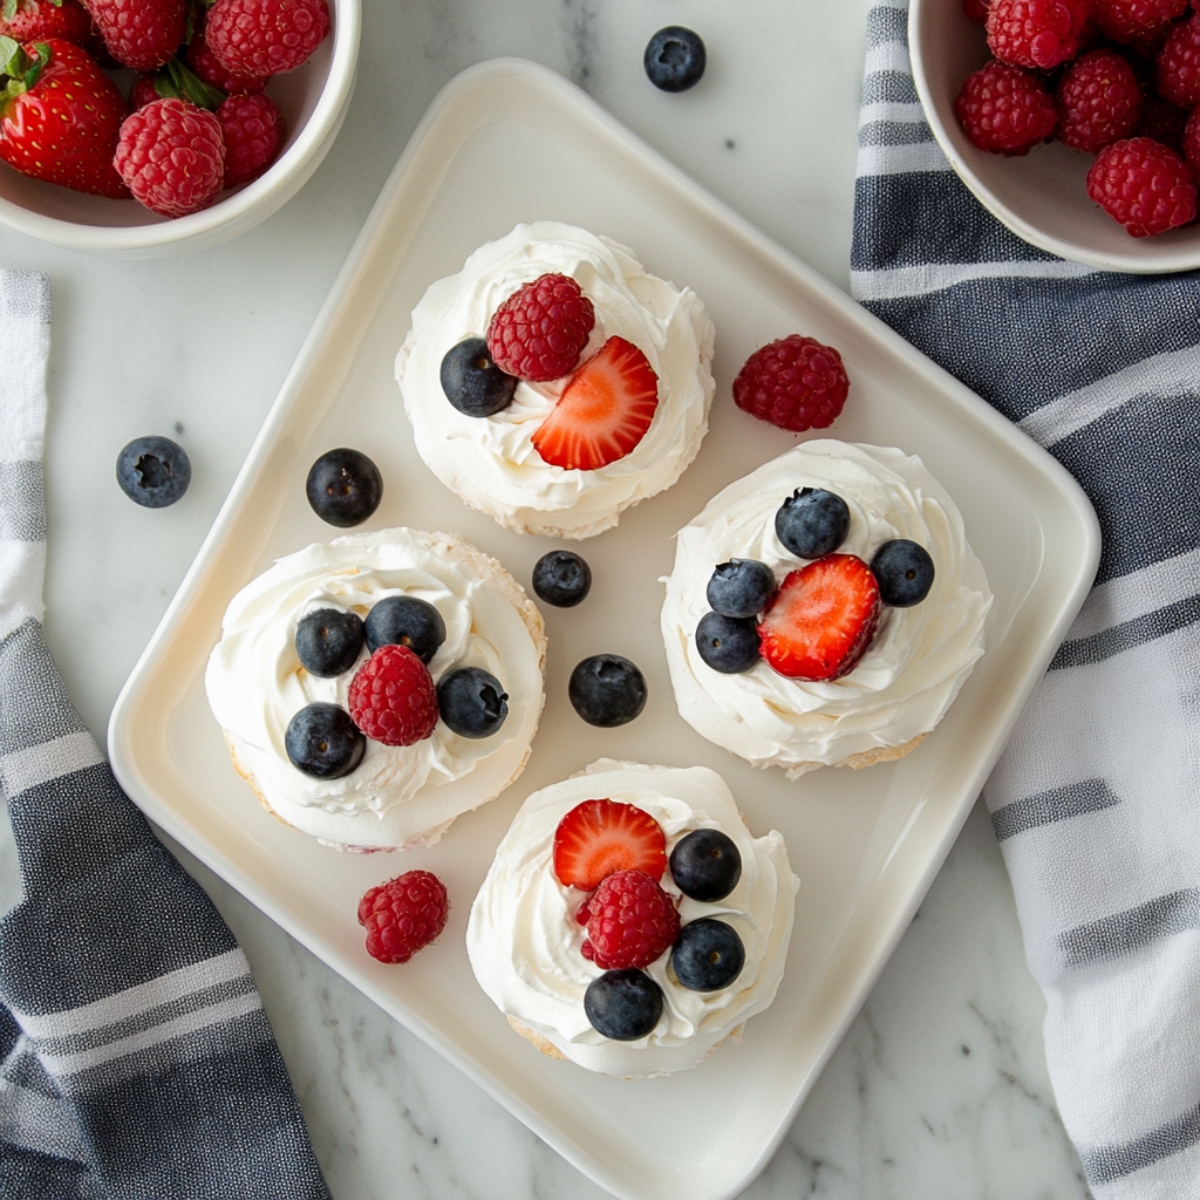
There’s something truly special about making mini pavlova from scratch—those crisp, cloud-like meringue shells topped with soft whipped cream and juicy fresh berries never fail to impress. I’ve made this mini pavlova recipe for everything from summer brunches to cozy holiday dinners, and it always brings smiles to the table.
Each delicate mini pavlova is its own little showstopper, giving your guests a personal dessert that feels thoughtful and looks beautiful without being fussy. The best part? You can make the mini pavlova shells ahead of time, so all that’s left is assembling and enjoying the moment with your favorite people.

Why Mini Pavlova is the Perfect Party Dessert
Mini pavlova has earned its place as a crowd favorite—and once you try it, you'll understand why. Inspired by the elegance of Russian ballerina Anna Pavlova, these airy meringue desserts are as graceful as they are delicious. What I love most about mini pavlova is how effortlessly they turn any gathering into something memorable—no slicing, no plating stress, just beautiful individual treats ready to serve. I’ve used this recipe for everything from holiday tables to backyard dinners, and it never lets me down. The meringue shells can be made days in advance, and that crisp-on-the-outside, soft-on-the-inside texture makes every bite of mini pavlova feel like something truly special.
Jump to:
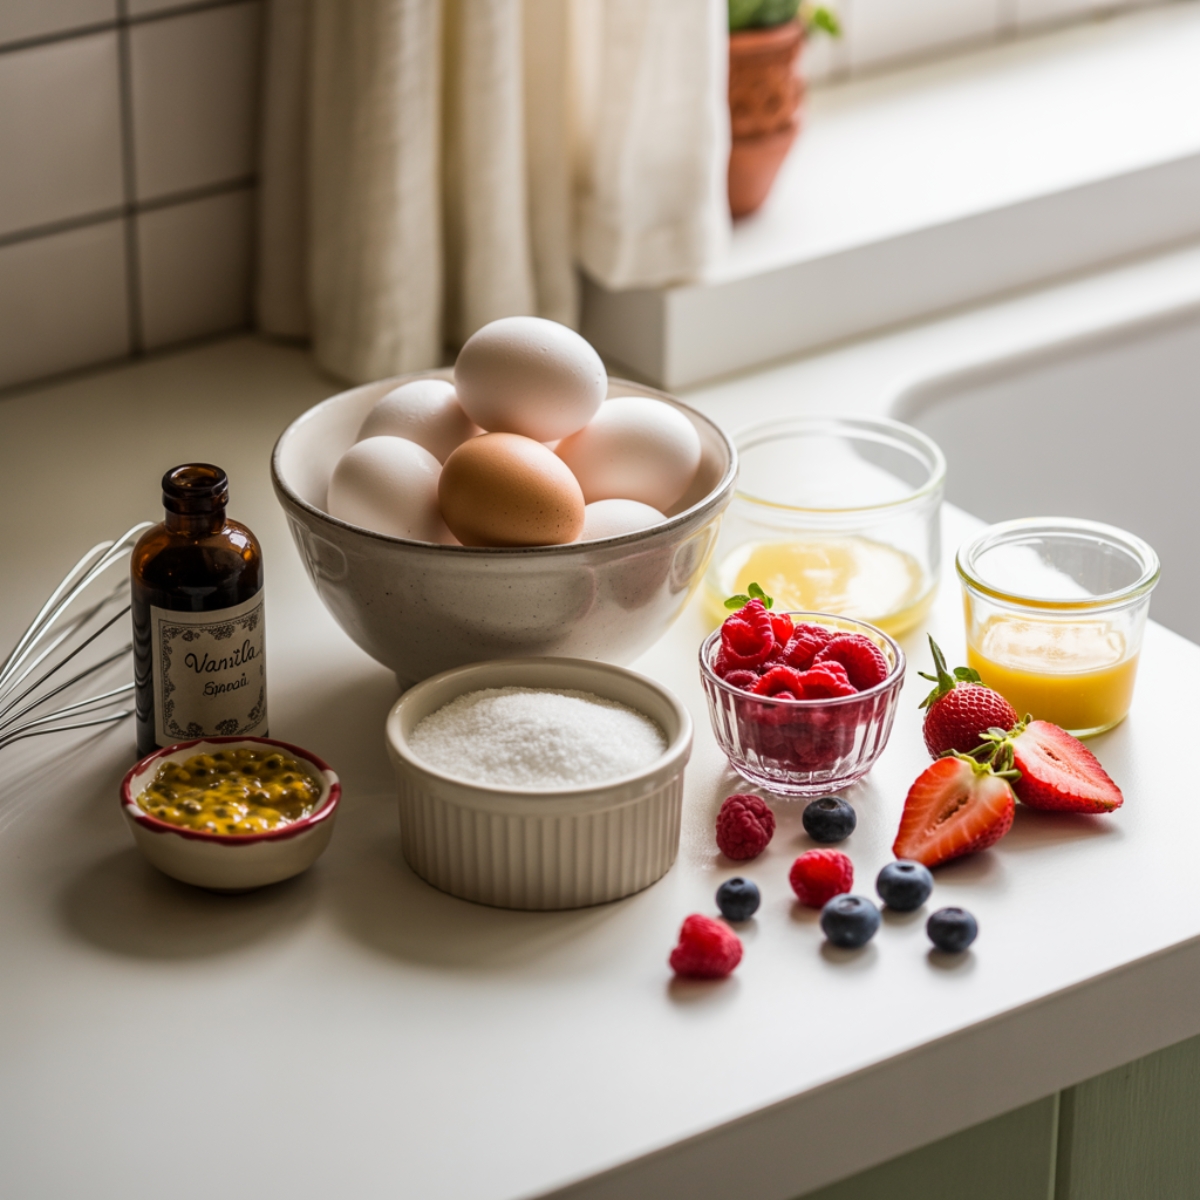
Ingredients
For the Meringue Shells:
- Egg whites, at room temperature
- Superfine sugar (caster sugar)
- Vanilla extract
- White vinegar
- Cornstarch
For the Toppings:
- Heavy whipping cream
- Powdered sugar
- Vanilla extract
- Mixed fresh berries (strawberries, blueberries, raspberries)
- Passion fruit pulp (optional)
- Lemon curd for extra richness (optional)
Ingredient Notes: Room temperature egg whites whip better and create more stable peaks. Superfine sugar dissolves more easily than regular granulated sugar, giving you smoother meringue. If you can't find superfine sugar, pulse regular sugar in a food processor for 30 seconds. For a gluten-free option, this recipe is naturally gluten-free as written.
The cornstarch and vinegar might seem odd, but they're crucial for that perfect pavlova texture - crispy outside, soft and chewy inside. Fresh berries work best, but you can substitute with your favorites. Strawberry pavlova and raspberry pavlova are classics, but don't be afraid to try seasonal fruits.
See recipe card for quantities.
Instructions
Preparing Kitchen and Making Meringue
- Preheat your oven to 300°F (150°C) and line two large baking sheets with parchment paper.
- Make sure your mixing bowl and beaters are completely clean - wipe them down with a bit of vinegar if needed to remove any grease.
- Place egg whites in your stand mixer bowl and start beating on medium speed until soft peaks form (2-3 minutes).
- Gradually add the superfine sugar, one tablespoon at a time, beating well after each addition to help the sugar dissolve completely.
- Continue beating until stiff, glossy peaks form and the meringue feels smooth when rubbed between your fingers - no gritty sugar crystals (8-10 minutes total).
Stabilizing and Shaping the Meringue
- Gently fold in vanilla extract, white vinegar, and cornstarch using a large spoon or spatula, being careful not to overmix.
- Using a large spoon or ice cream scoop, dollop the meringue onto your prepared baking sheets, creating 12 individual portions about 3 inches wide.
- Use the back of a spoon to create a small well in the center of each mini pavlova - this will hold your toppings later.
- Space them about 2 inches apart as they'll expand slightly during baking (the shape doesn't need to be perfect - rustic looks charming too!).
Baking and Cooling the Pavlova Shells
- Place both baking sheets in the oven and immediately reduce temperature to 225°F (110°C).
- Bake for 1 hour and 15 minutes until the pavlova shells sound hollow when tapped gently and lift easily from the parchment.
- Turn off the oven and crack the door open slightly to let the mini pavlovas cool completely in the oven - this prevents cracking from sudden temperature changes.
- Allow the cooling process to take about 2 hours for best results.
Preparing Toppings and Final Assembly
- While your meringue shells cool, beat heavy cream, powdered sugar, and vanilla extract until soft peaks form (don't overbeat or you'll end up with butter).
- Wash and prepare your fresh berries - hull and slice strawberries, keep blueberries and raspberries whole.
- If using passion fruit, scoop out the pulp and seeds into a small bowl.
- Just before serving, spoon whipped cream into the wells of each mini pavlova and top with your prepared fresh berries and any optional toppings.
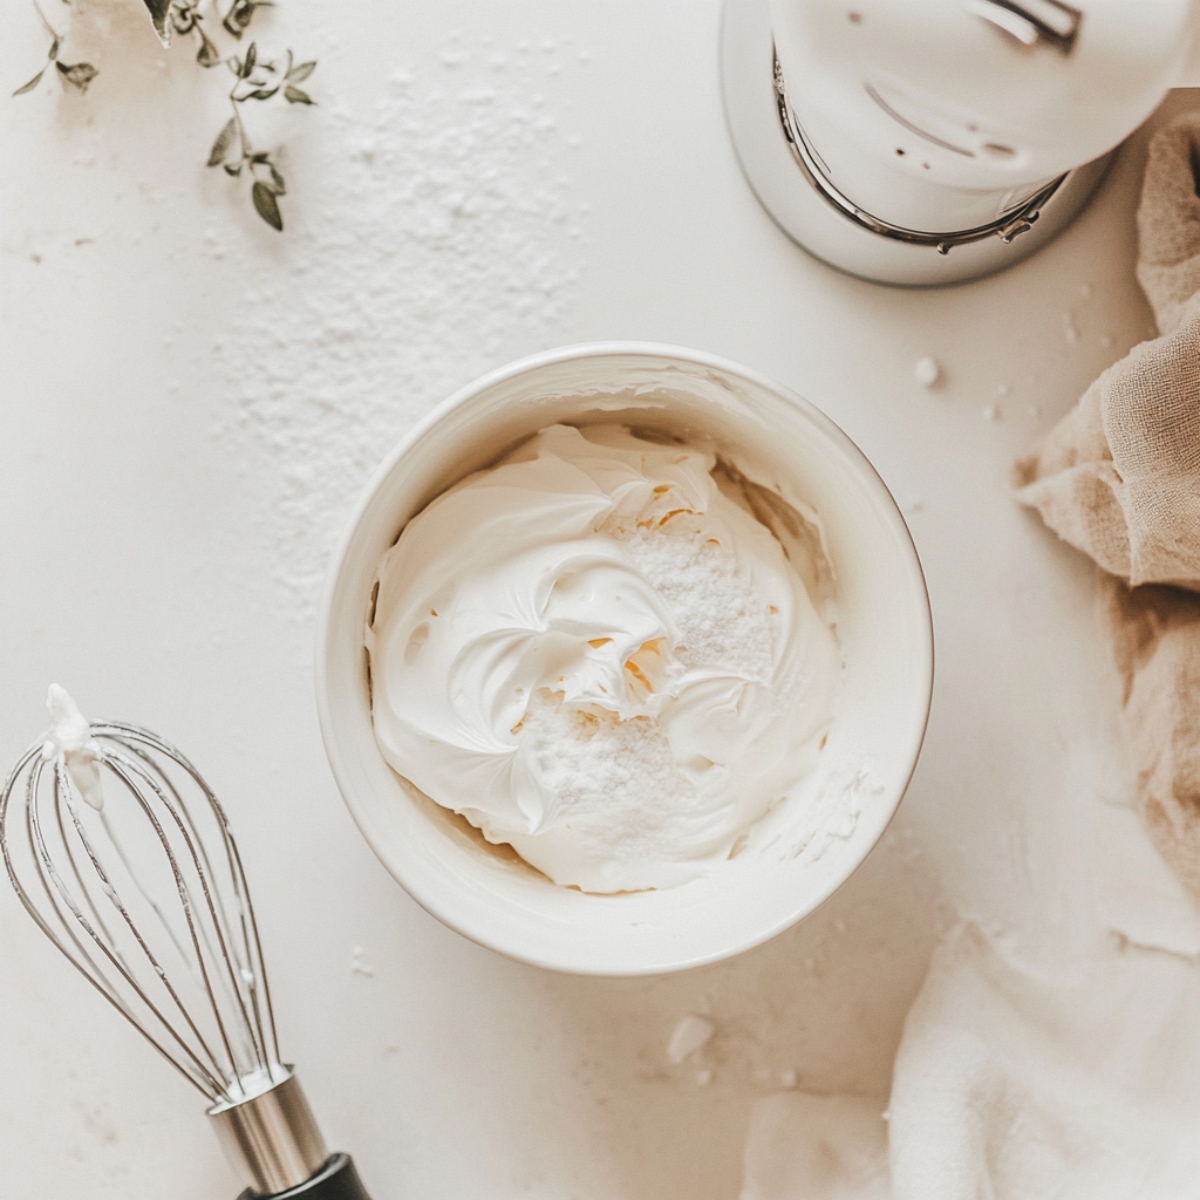
- Step 1: Preparing Kitchen and Making Meringue
Beat egg whites and sugar until stiff, glossy peaks form.
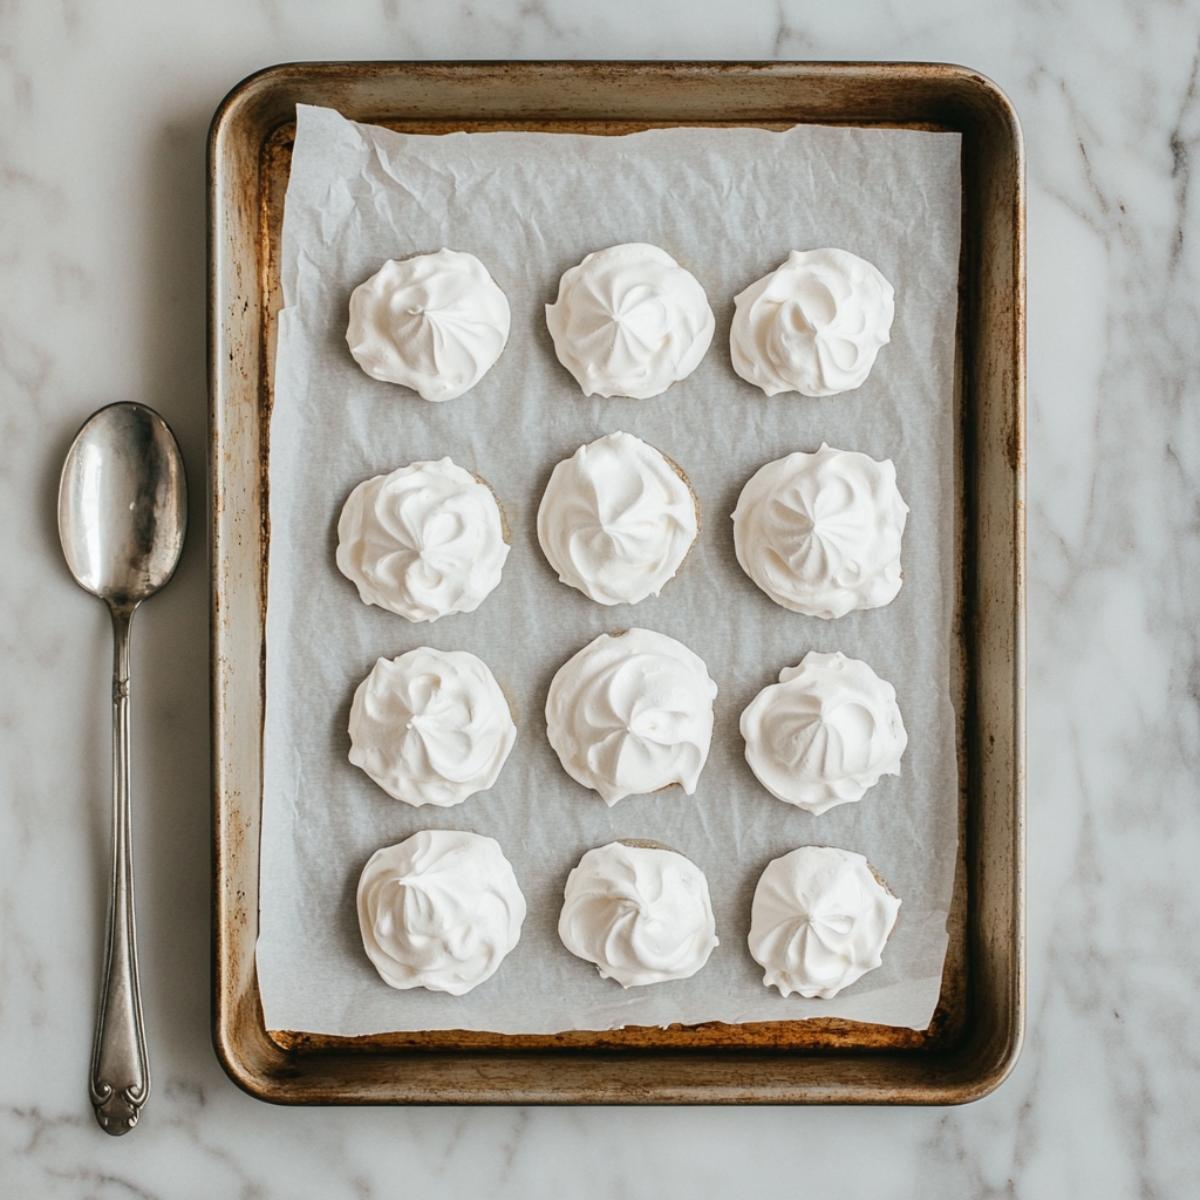
- Step 2: Stabilizing and Shaping the Meringue
Shape meringue into rounds with center wells for toppings.
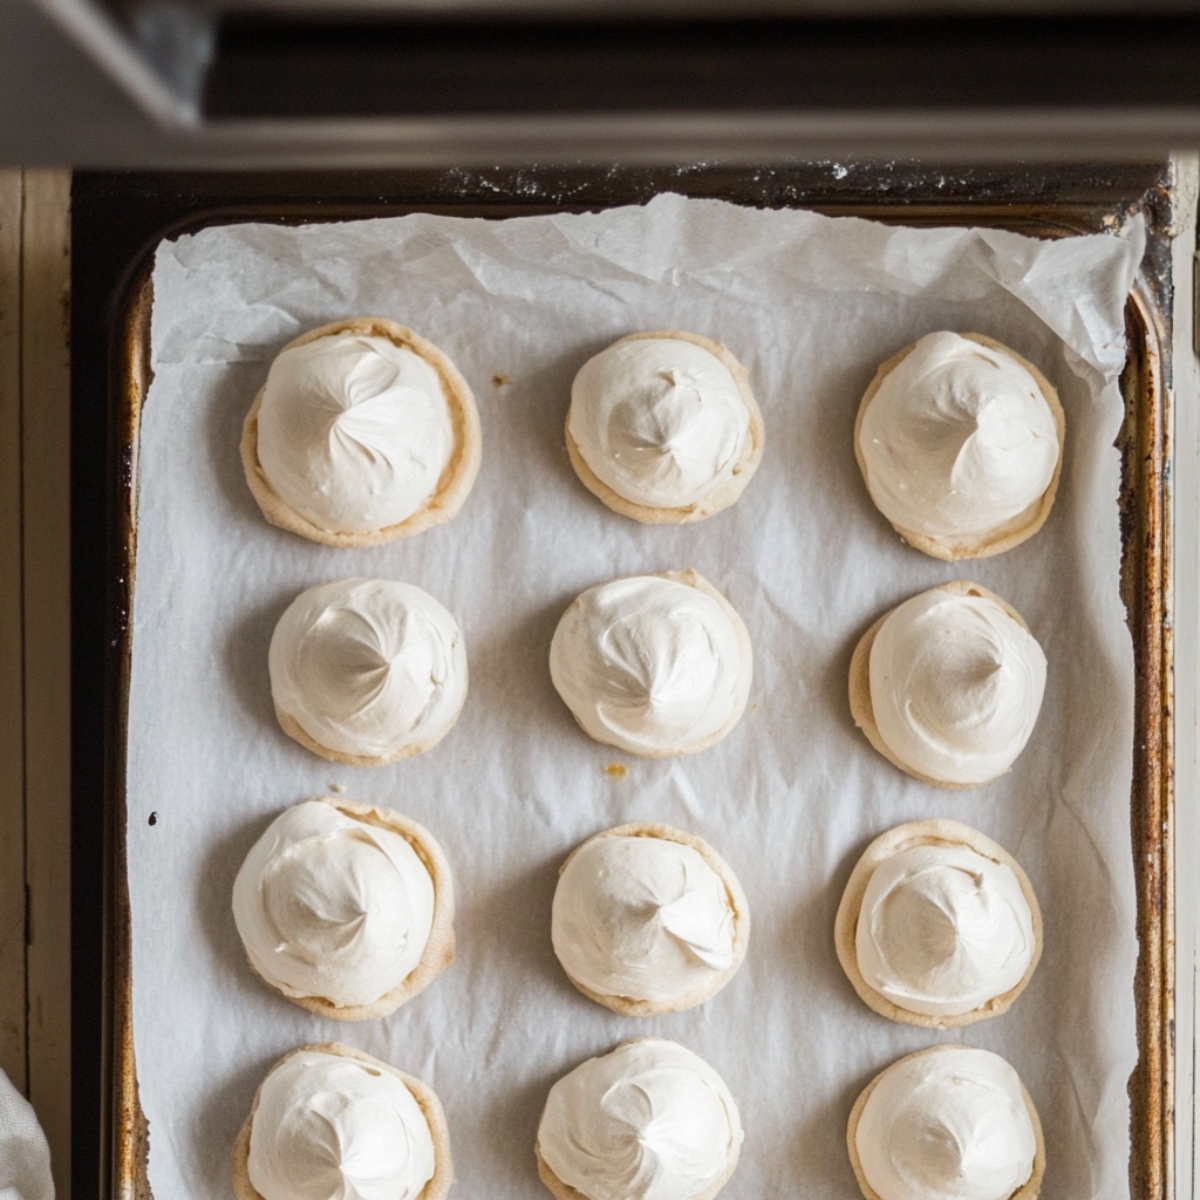
- Step 3: Baking and Cooling the Pavlova Shells
Bake low and slow, then cool in the oven to avoid cracks.
- Step 4: Preparing Toppings and Final Assembly
Fill pavlova nests with whipped cream and fruit just before serving.
Professional Tips for Mini Pavlova Success
- Temperature Matters: Use a candy thermometer to check your oven temperature. Even small variations can affect your results. Too hot and the outside browns before the inside sets; too cool and they won't develop that crispy shell.
- Weather Watch: Avoid making meringue on humid days. The extra moisture in the air can prevent proper setting and create weepy pavlovas.
- Storage Secret: Store unfilled meringue shells in an airtight container for up to one week. Only add toppings just before serving to maintain that crispy texture.
Creative Mini Pavlova Variations
Mini Christmas Pavlova
Create festive mini pavlova by adding red and green berries, maybe some pomegranate seeds for extra sparkle. A drizzle of cranberry coulis makes these holiday-perfect.
Mini Pavlova with Lemon Curd
Swap some whipped cream for store-bought or homemade lemon curd. The tangy richness pairs beautifully with the sweet meringue and fresh berries.
Chocolate Mini Pavlova
Add 2 tablespoons of cocoa powder to your meringue for chocolate lovers. Top with chocolate shavings and berries for an indulgent twist.
Pink Pavlova Mini
Fold in a few drops of pink food coloring for Instagram-worthy mini pavlova that's perfect for baby showers or Valentine's Day.
Equipment
A stand mixer makes this recipe much easier, though a hand mixer works too - just be patient with the whipping time. Large mixing bowls are essential, and make sure they're completely grease-free.
An ice cream scoop helps create uniform mini pavlova shells, but a large spoon works fine too. Parchment paper is crucial - don't substitute with wax paper as it can burn at these temperatures.
Storage
Store unfilled meringue shells in an airtight container at room temperature for up to one week. Once topped, mini pavlova should be served immediately as the cream will start to soften the meringue.
You can't freeze completed pavlovas, but you can freeze the meringue shells for up to one month. Thaw completely before adding toppings.
The Secret to Flawless Mini Pavlova Meringue (From My Kitchen to Yours)
I learned the secret to perfect mini pavlova the hard way—after a few weepy, sunken meringues that left me frustrated and sticky-fingered. One day, while making dessert for my sister’s baby shower, I pushed past the moment I thought the meringue was ready and kept whipping for just a few extra minutes. That was the turning point. The peaks stood tall, the meringue held like a dream, and not a single pavlova collapsed. Ever since, I’ve made it a rule: when you think it’s stiff enough, beat it just a bit longer. That extra time gives your mini pavlova the stability it needs for that iconic crisp shell and soft, marshmallowy center.
FAQ
What is the difference between a meringue and a pavlova?
Meringue is crisp and dry throughout, while pavlova has a delicate, crunchy shell with a soft, marshmallow-like center. The difference comes from how the sugar is incorporated and how it's baked. Pavlova is also typically served with whipped cream and fresh fruit, making it more of a complete dessert than plain meringue.
Why are my mini pavlovas chewy?
If your mini pavlovas turn out chewy, it's likely because the meringue wasn’t beaten long enough or they weren’t baked low and slow. Moisture and undercooking are the main culprits. For that perfect crisp outside and soft inside, make sure your meringue is stiff and glossy, and bake at a low temperature until completely dry.
What exactly is a pavlova?
A pavlova is a meringue-based dessert named after Russian ballerina Anna Pavlova. It’s known for its crisp exterior and pillowy, marshmallow-like center. Typically topped with whipped cream and fresh fruit, pavlova is a favorite for celebrations thanks to its elegance, versatility, and light, melt-in-your-mouth texture—especially when made into individual mini pavlovas.
How long will mini pavlovas keep?
Mini pavlovas can be stored in an airtight container at room temperature for up to 2 days. Make sure they stay dry—humidity can ruin their crisp texture. For best results, add the whipped cream and toppings just before serving to keep the shells light, airy, and beautifully crisp.
Why This Mini Pavlova Recipe Will Be Your New Go-To Dessert
This mini pavlova recipe brings all the elegance of a fancy patisserie right into your own kitchen—without the fuss. With its delicate crunch, soft marshmallow center, and vibrant toppings, it’s a dessert that always feels like a celebration. Whether you’re entertaining guests or just adding a little sparkle to a weeknight dinner, mini pavlova never fails to impress. And if you love simple show-stopping desserts like this, don’t miss my Lemon Posset Brulee for a citrusy twist or these Chocolate Mousse Brownies that are pure chocolate heaven. Try this recipe, make it your own, and let your baking shine—you’ve got this!
Related
Looking for other recipes like this? Try these:


Pairing
These are my favorite dishes to serve with this mini pavlova recipe:


Mini Pavlova Recipe
Equipment
- Stand mixer or hand mixer
- Large bowl grease-free
- Baking sheets lined with parchment paper
- Ice cream scoop or large spoon for shaping
- Spatula for folding in ingredients
- Oven thermometer optional, for accurate baking
Ingredients
For the Meringue Shells
- 4 Egg whites at room temperature
- 1 cup Superfine sugar or pulsed granulated sugar
- 1 teaspoon Vanilla extract
- 1 teaspoon White vinegar
- 1 teaspoon Cornstarch
For the Toppings
- 1.5 cups Heavy whipping cream cold
- 2 tablespoon Powdered sugar
- 1 teaspoon Vanilla extract
- 2 cups Mixed fresh berries strawberries, raspberries, blueberries
- 0.5 cup Passion fruit pulp optional
- Lemon curd optional, for richness
Instructions
- Preheat oven to 300°F and line baking sheets
- Beat egg whites until soft peaks form
- Add sugar gradually, beat until stiff peaks
- Fold in vanilla, vinegar, and cornstarch
- Spoon into 12 rounds on sheets, make wells
- Lower oven to 225°F and bake 75 mins
- Turn off oven and cool inside oven
- Beat cream, sugar, vanilla until soft peaks
- Top pavlovas with cream and berries


Leave a Reply