
There's nothing quite like the satisfying crunch of perfectly golden fried squash that brings back memories of Sunday dinners and family gatherings. This ultimate fried squash recipe transforms simple garden vegetables into crispy, irresistible bites that'll have everyone asking for seconds. Whether you're using fresh yellow squash from your garden or picking up some beauties from the farmer's market, this foolproof method guarantees that perfect balance of tender inside and crunchy outside every single time.
What makes this fried squash recipe truly special is its simplicity and the way it celebrates the natural sweetness of summer squash. With just a few pantry staples and the right technique, you'll create a side dish that pairs beautifully with everything from fried chicken to barbecue ribs. This isn't just any ordinary vegetable preparation; it's a beloved Southern tradition that turns humble squash into something absolutely magical.

Background & Why This Golden Fried Squash Recipe Rules the Kitchen
Southern kitchens have been perfecting fried squash for generations, and this recipe captures all those time-tested secrets in one place. The key to exceptional fried squash lies in understanding how to properly prepare the vegetables and create that perfect cornmeal coating that stays crispy long after cooking. Unlike many vegetable dishes that can turn out bland or mushy, this fried squash method ensures each slice maintains its shape while developing that coveted golden-brown exterior that makes your mouth water just thinking about it.
What sets this fried squash apart from other preparations is the careful balance of seasoning and the two-step coating process that creates layers of flavor and texture. The buttermilk soak not only adds tang but also helps the cornmeal mixture stick better, while the blend of cornmeal and flour creates the perfect crispy shell. This isn't just about frying vegetables; it's about creating a memorable dish that transforms simple summer squash into restaurant-quality comfort food that'll become a regular request at your dinner table.
Jump to:
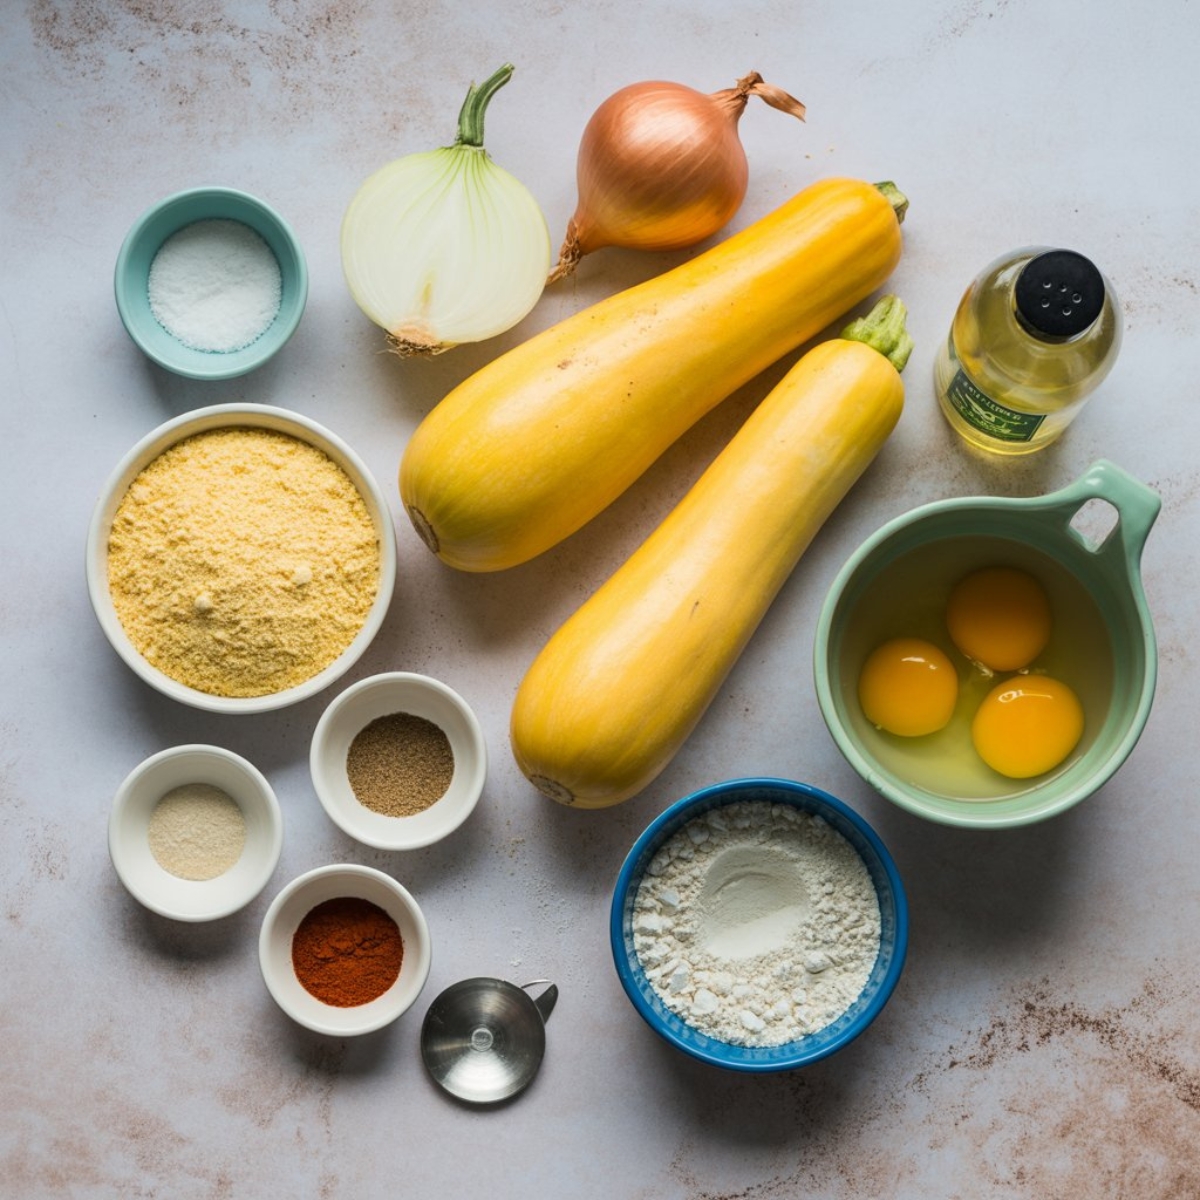
Ingredients
Fresh Vegetables
- Yellow squash (about 2 pounds), sliced into ¼-inch rounds
- Sweet onion, sliced into rings (optional)
- Salt for drawing out moisture
Coating Station
- Buttermilk
- Eggs, beaten
- Yellow cornmeal
- All-purpose flour
- Garlic powder
- Onion powder
- Black pepper
- Paprika
- Cayenne pepper (adjust to taste)
For Frying
- Vegetable oil or peanut oil for deep frying
- Additional salt for seasoning after cooking
See recipe card for quantities.
Instructions
Prepare the Squash Foundation
- Wash and slice your squash into even ¼-inch rounds, discarding the ends
- Arrange squash slices on paper towels and sprinkle both sides generously with salt
- Let sit for 15-20 minutes to draw out excess moisture
- Pat completely dry with clean paper towels before proceeding
Set Up Your Coating Station
- Whisk together buttermilk and beaten eggs in a shallow dish
- In a separate large bowl, combine cornmeal, flour, and all seasonings
- Mix the dry ingredients thoroughly to distribute spices evenly
- Arrange your stations in order: squash, buttermilk mixture, seasoned cornmeal mixture
Perfect the Coating Process
- Dip each squash slice into buttermilk mixture, letting excess drip off
- Press firmly into cornmeal coating, ensuring both sides are completely covered
- Place coated slices on a wire rack and let rest for 5 minutes
- This resting time helps the coating adhere better during frying
Master the Frying Technique
- Heat oil to 350°F in a heavy skillet or deep fryer
- Fry squash in small batches to avoid overcrowding
- Cook for 2-3 minutes per side until golden brown and crispy
- Remove with slotted spoon and drain on paper towels immediately
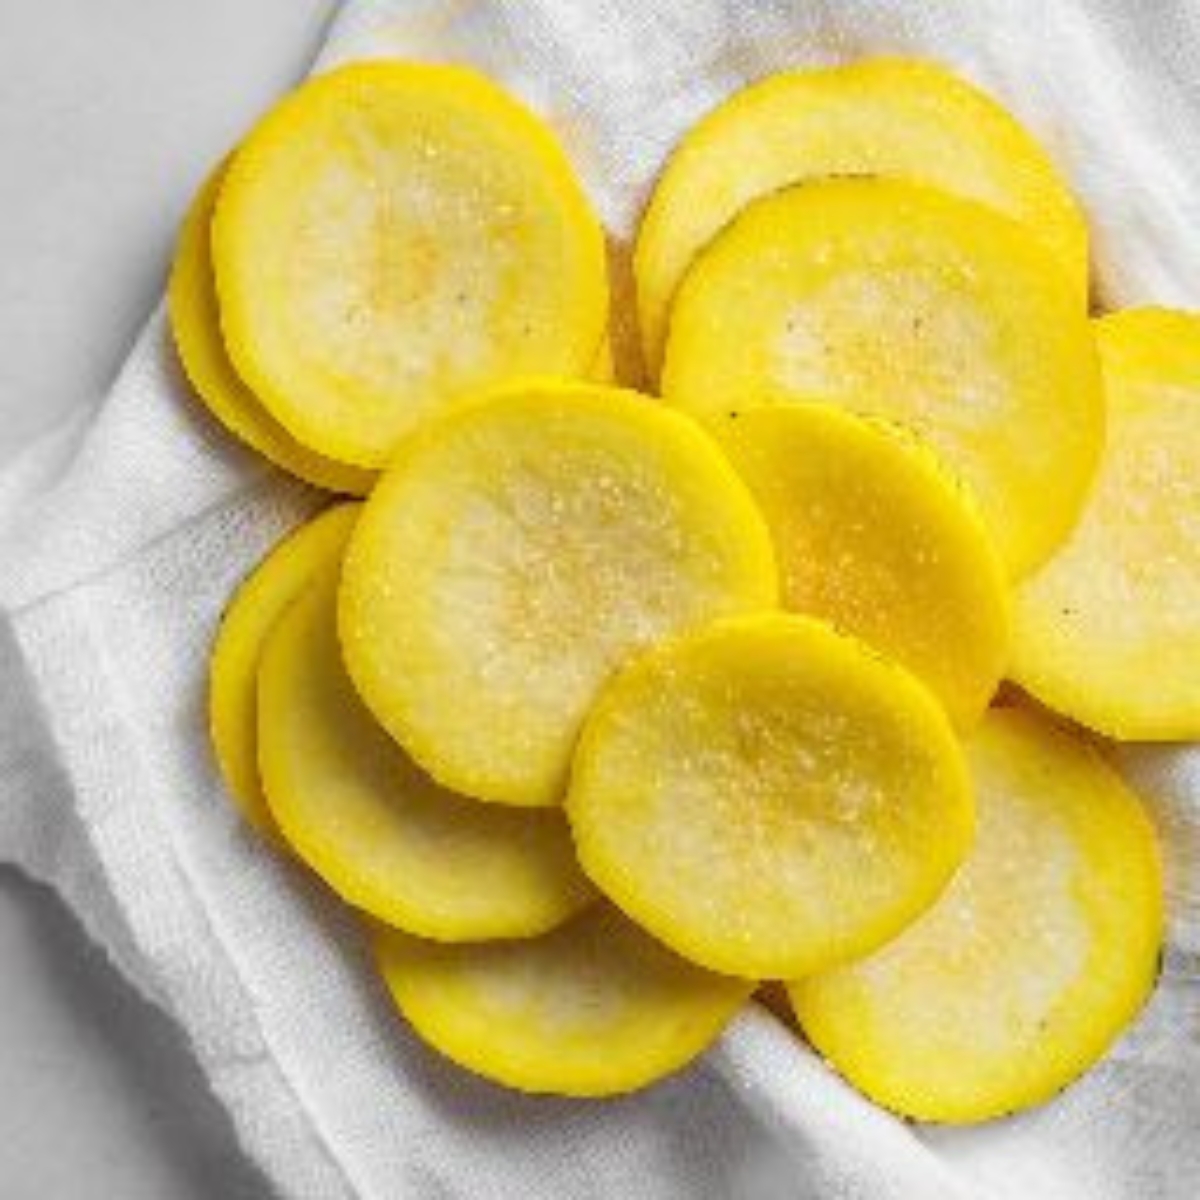
- Step 1: Salted Squash Prep
Slice and salt the squash to draw out excess moisture before coating.

- Step 2: Buttermilk and Coating Station
Set up your dipping and coating station with wet and dry bowls.
- Step 3: Coated Squash Resting on Rack
Coat each squash slice thoroughly and let them rest before frying.

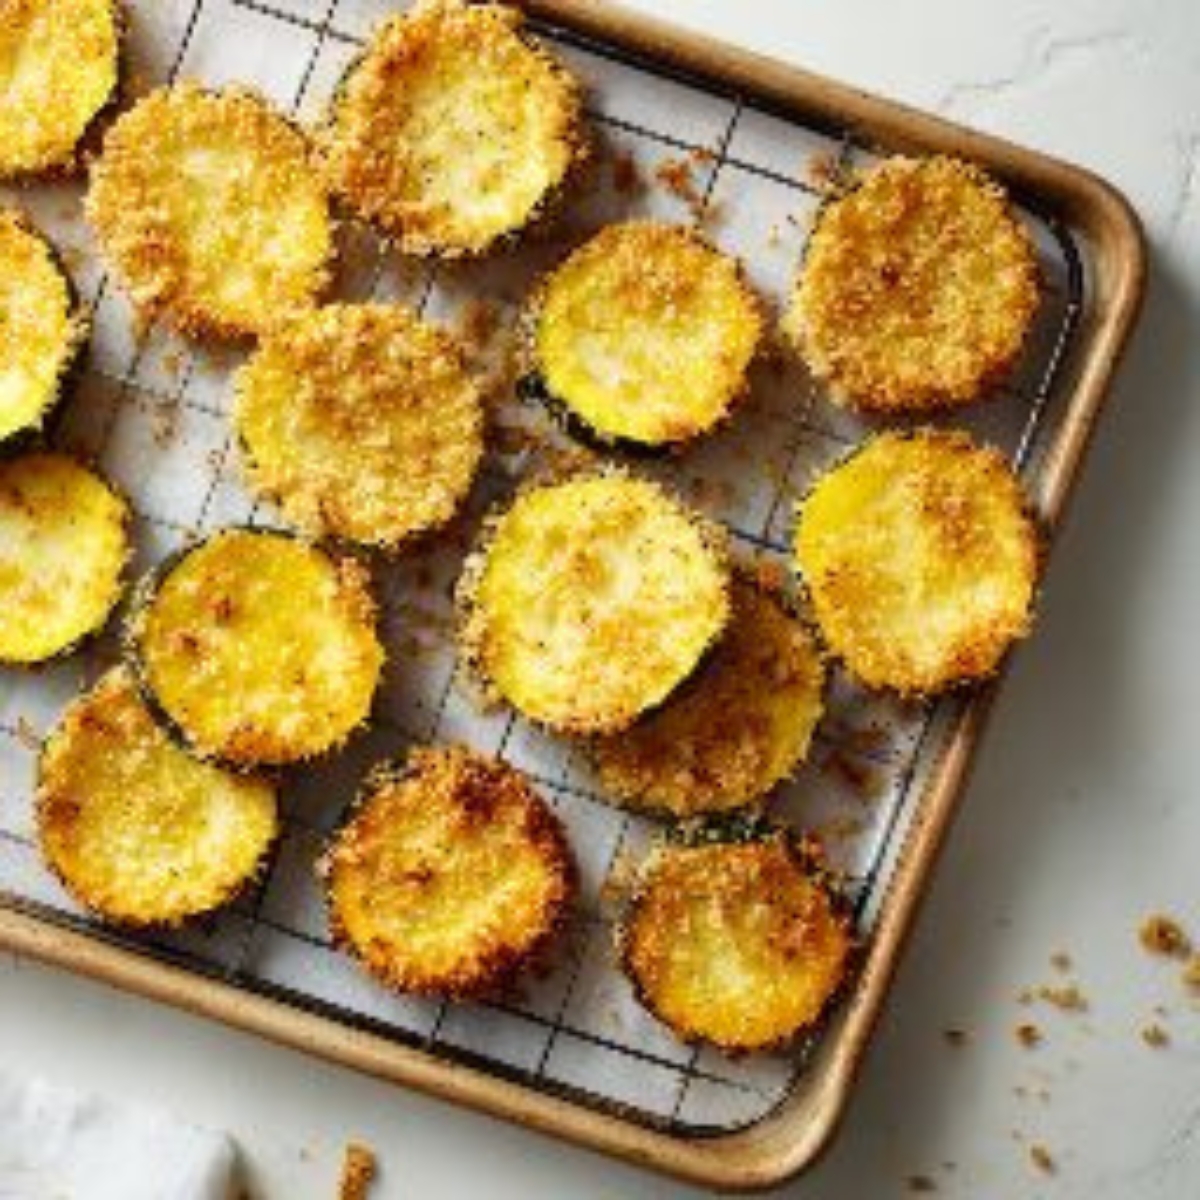
- Step 4: Freshly Fried Squash on Paper Towels
Fry in small batches until golden and crispy, then drain on paper towels.
Expert Cooking Tips
Getting perfect fried squash every time requires attention to a few key details that make all the difference in your final result.
Temperature Control is Everything
- Use a thermometer to maintain oil temperature at 350°F
- If oil gets too hot, your coating burns before squash cooks through
- Too low temperature results in greasy, soggy coating
Moisture Management Secrets
- Always salt squash slices and let them drain to remove excess water
- Pat completely dry before coating to prevent oil splattering
- Work quickly once coating begins to prevent soggy spots
Coating Perfection Tips
- Press coating firmly onto squash for better adherence
- Don't skip the resting period after coating
- Double-coat extra-thick slices for more crunch
Batch Cooking Strategy
- Never overcrowd your pan; this drops oil temperature
- Keep finished batches warm in 200°F oven while cooking remaining squash
- Serve immediately for maximum crispiness
Recipe Variations & Substitutions
This versatile fried squash recipe adapts beautifully to different dietary needs and flavor preferences while maintaining that signature crispy texture.
Healthier Alternatives Transform this recipe into a lighter version by using your air fryer set to 400°F for 8-10 minutes, flipping halfway through. For oven preparation, bake at 425°F for 15-20 minutes on a parchment-lined baking sheet.
Dietary Modifications
- Gluten-Free: Replace all-purpose flour with almond flour or additional cornmeal
- Dairy-Free: Substitute buttermilk with plant-based milk mixed with lemon juice
- Vegan Option: Use aquafaba (chickpea liquid) instead of eggs in the coating
Flavor Variations
- Spicy Kick: Add extra cayenne and hot sauce to buttermilk mixture
- Herb Garden: Mix fresh thyme, rosemary, or sage into dry coating
- Cheese Lover's: Add ½ cup grated Parmesan to cornmeal mixture
- Southern Classic: Include equal amounts sliced onions for traditional preparation
Equipment Recommendations
The right tools make achieving perfect fried squash much easier and safer in your kitchen.
Essential Equipment A heavy-bottomed cast iron skillet or deep fryer provides even heat distribution that's crucial for consistent results. You'll also need a reliable cooking thermometer to monitor oil temperature, wire cooling racks for proper drainage, and a slotted spoon or spider strainer for safe removal of hot squash from oil.
Helpful Additions Consider investing in a splatter screen to keep your stovetop clean, shallow dishes for efficient coating setup, and paper towels or clean kitchen towels for moisture removal and oil absorption.
Storage & Meal Prep Tips
Proper storage techniques help you enjoy your fried squash at peak quality even as leftovers.
Immediate Storage Cool completely before refrigerating in airtight containers for up to 3 days. Never store while still warm, as trapped steam makes coating soggy.
Reheating Methods
- Oven Method: Reheat at 375°F for 5-7 minutes until crispy
- Air Fryer: 2-3 minutes at 350°F for best texture restoration
- Avoid Microwave: This method makes coating soggy and chewy
Make-Ahead Tips Slice and salt squash up to 4 hours ahead, keeping refrigerated until ready to coat and fry. Pre-mixed dry coating stores in airtight containers for up to 1 month.
Grandma's Secret That Changed Everything
The real magic behind unforgettable fried squash lies in two secrets passed down through generations of Southern cooks. First, never skip the salting and draining process; this single step prevents that dreaded soggy coating that ruins perfectly good squash. The salt draws out excess moisture that would otherwise create steam during frying, keeping your coating crispy and golden instead of falling off in disappointing clumps.
The second secret involves the resting period after coating but before frying. Allowing your coated fried squash to sit for 5 minutes creates a bond between the vegetable and coating that withstands the bubbling oil. This patience pays off with coating that stays put and creates that satisfying crunch we all crave in perfect comfort food.
FAQ
What seasoning do you use for fried squash?
The perfect fried squash seasoning blend includes garlic powder, onion powder, black pepper, paprika, and a touch of cayenne mixed into your cornmeal coating, plus salt for the initial squash preparation.
What cooking method is best for squash?
Pan-frying in 350°F oil creates the ideal crispy exterior while keeping the fried squash tender inside, though air frying and oven roasting work well for healthier alternatives.
Why is my fried squash soggy?
Soggy fried squash usually results from skipping the salting step, using oil that's too cool, or overcrowding the pan during cooking.
How do you cook squash so it doesn't get soggy?
Salt sliced squash and drain for 15-20 minutes, pat completely dry, maintain proper oil temperature at 350°F, and avoid overcrowding during the fried squash cooking process.
Perfect Pairings for Your Golden Fried Squash
This crispy fried squash pairs beautifully with other Southern favorites that complement its golden, crunchy texture. Try serving alongside our Air Fryer Fried Green Tomatoes for a complete garden-to-table vegetable medley that celebrates summer produce at its finest. The tangy tomatoes provide a perfect contrast to the mild sweetness of the squash.
For a heartier meal, pair your fried squash with our Crunch Chicken recipe that delivers the same satisfying crispy coating and comfort food appeal. Together, these dishes create a memorable feast that brings family and friends together around the dinner table, sharing the kind of food memories that last a lifetime.
With love from my kitchen to yours,
Taylor Monroe
Related
Looking for other recipes like this? Try these:


Pairing
These are my favorite dishes to serve with this fried squash recipe:


Southern Fried Squash Recipe
Equipment
- 1 Cast iron skillet or fryer For even heat and crisp frying
- 1 Cooking thermometer For maintaining 350°F oil temp
- 1 Slotted spoon For safe frying and draining
- 1 Wire rack For resting coated squash
- 1 Paper towels For draining oil and drying slices
- 3 Shallow Bowls For dipping and coating setup
Ingredients
- 3 Yellow squash Medium size, sliced into ¼-inch rounds
- 1 Sweet onion Optional, sliced into rings
- 2 teaspoon Salt For drawing out moisture
- 1 cup Buttermilk For coating
- 2 Eggs Beaten
- 1.5 cups Yellow cornmeal For crunchy coating
- 0.5 cup All-purpose flour Mix with cornmeal
- 1 tablespoon Garlic powder Flavor enhancer
- 1 tablespoon Onion powder Adds sweetness
- 2 teaspoon Black pepper Fresh ground preferred
- 1 teaspoon Paprika For color and flavor
- 0.5 teaspoon Cayenne pepper Optional heat
- 2-3 cups Vegetable oil Or peanut oil, for deep frying
- Salt To taste, for seasoning after frying
Instructions
- Cut squash into ¼-inch rounds and salt both sides.
- Let sit 15–20 mins then pat dry.
- Combine buttermilk and eggs in shallow bowl.
- Combine cornmeal, flour, and seasonings.
- Dip in wet then press into dry coating.
- Place coated squash on wire rack for 5 mins.
- Bring oil to 350°F in skillet or fryer.
- Fry in batches 2–3 mins per side until golden.
- Use slotted spoon and drain on paper towels.


Leave a Reply