
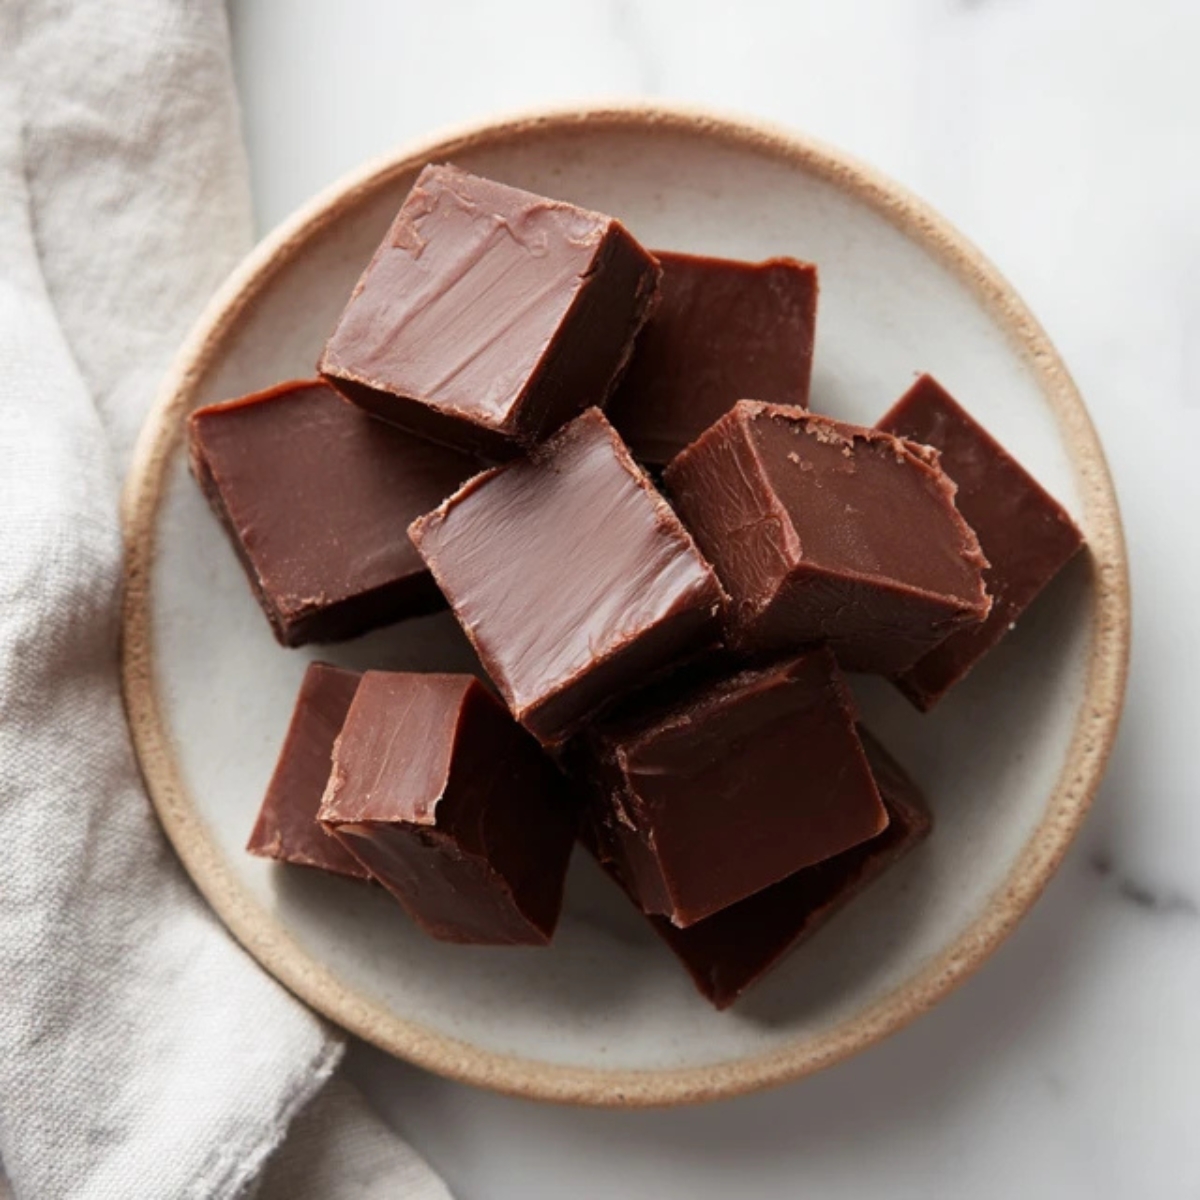
There's nothing quite like biting into a square of rich, creamy homemade fudge that melts in your mouth. This fudge recipe has been passed down through generations, and I'm excited to share it with you today. Whether you're making treats for the holidays, bringing dessert to a party, or just satisfying your sweet tooth, this fudge recipe delivers perfect results every single time. The best part? You don't need fancy equipment or professional candy-making skills. With just three simple ingredients and about 15 minutes of active cooking time, you'll have smooth, velvety fudge recipe that rivals anything from a candy shop. Trust me, once you make this fudge recipe at home, you'll never go back to store-bought again.
Background & Why This Recipe Stands Out
What makes this fudge recipe truly special is its foolproof method that guarantees success even for first-time candy makers. Unlike traditional fudge recipes that require precise temperature monitoring and can turn grainy in seconds, this approach uses condensed milk as the base, which creates a smooth, creamy texture without the fussiness. I've tested countless versions over the years, and this fudge recipe consistently produces professional-quality results. The secret lies in the balance of chocolate, sweetened condensed milk, and just a touch of vanilla; creating that perfect melt-in-your-mouth consistency everyone loves.
This fudge recipe has become my go-to for every occasion, from Christmas cookie exchanges to summer picnics. It's incredibly versatile too; you can customize it with nuts, marshmallows, candy pieces, or swirls of peanut butter. The base fudge recipe takes just minutes to prepare, and the hardest part is waiting for it to set! Whether you're an experienced baker or just starting your culinary journey, this recipe will quickly become a staple in your dessert repertoire.
Jump to:
Ingredients
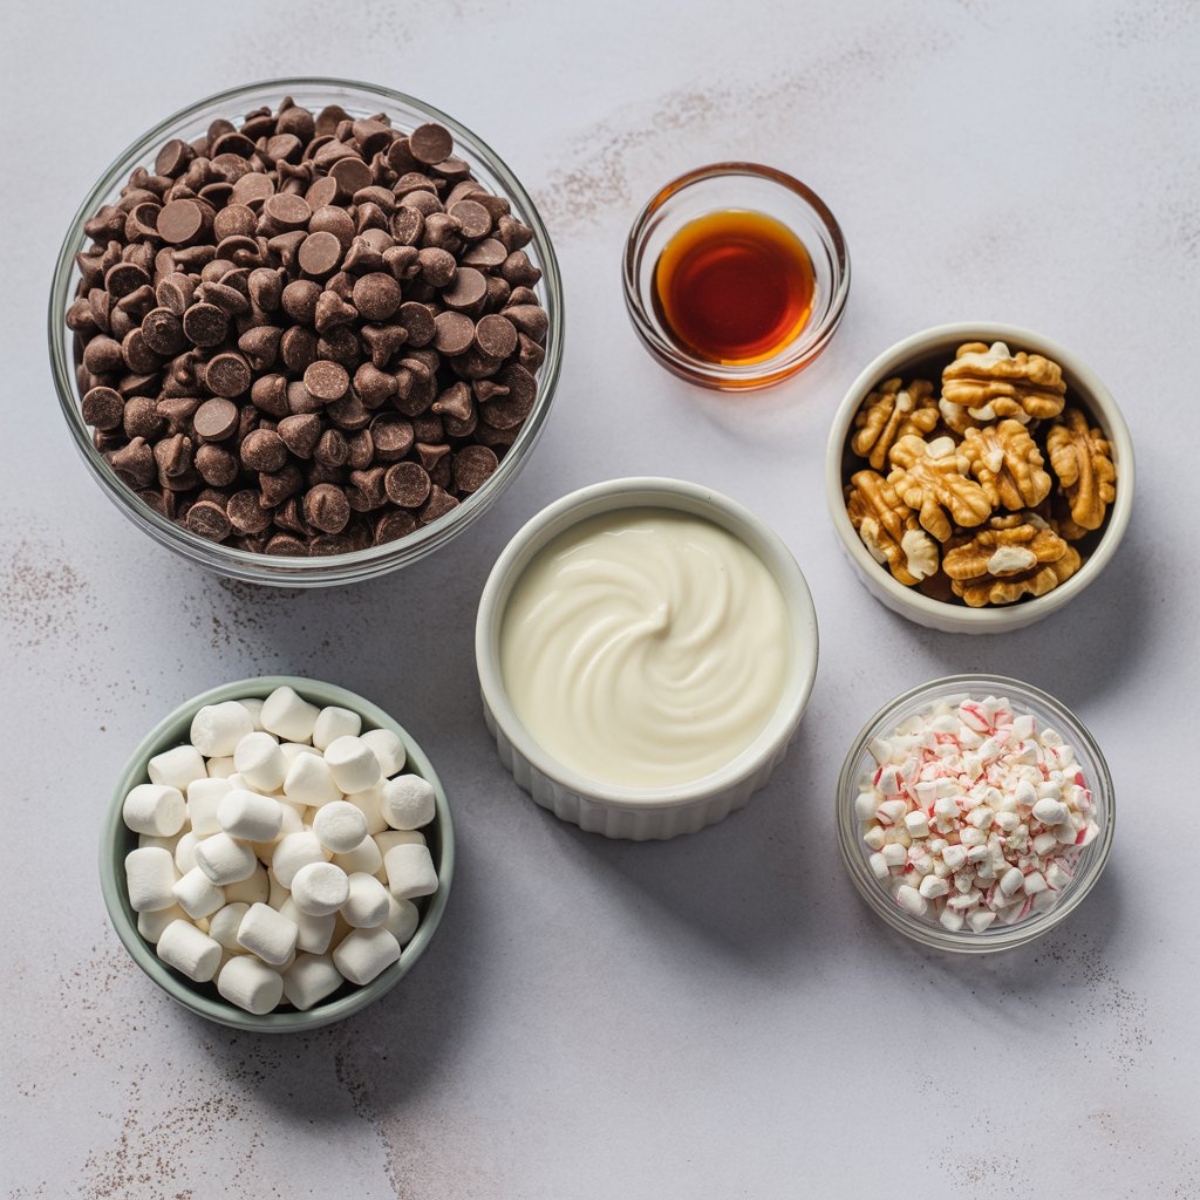
Main Components
- Semi-sweet chocolate chips
- Sweetened condensed milk
- Pure vanilla extract
Optional Add-Ins
- Chopped walnuts or pecans
- Mini marshmallows
- Crushed peppermint candies (for holiday fudge)
- Peanut butter chips
- Sea salt flakes for topping
Ingredient Notes: Using high-quality chocolate chips makes a noticeable difference in the final taste. If you prefer white chocolate fudge, simply swap semi-sweet chips for white chocolate chips. For a dairy-free version, use coconut condensed milk and dairy-free chocolate chips.
See recipe card for quantities.
Instructions
Step 1: Prepare Your Pan
- 1. Line an 8x8-inch square baking pan with parchment paper, leaving overhang on two sides for easy removal later.
- 2. Lightly spray the parchment with non-stick cooking spray to ensure your fudge releases perfectly.
- 3. Set the prepared pan aside while you work on the fudge mixture.
Step 2: Melt the Chocolate Mixture
- 1. Combine chocolate chips and sweetened condensed milk in a medium saucepan over low heat.
- 2. Stir constantly with a wooden spoon or silicone spatula to prevent scorching on the bottom.
- 3. Continue stirring for 5-7 minutes until the chocolate is completely melted and the mixture is smooth and glossy.
- 4. Remove from heat immediately once melted; overcooking can cause the fudge to become grainy.
Step 3: Add Flavoring and Mix-Ins
- 1. Stir in the vanilla extract until fully incorporated throughout the chocolate mixture.
- 2. If adding nuts, marshmallows, or other mix-ins, fold them in gently at this stage.
- 3. Work quickly as the fudge recipe mixture begins to set as it cools.
Step 4: Pour and Set
- 1. Pour the fudge mixture into your prepared pan, spreading it evenly with an offset spatula.
- 2. Tap the pan gently on the counter a few times to release any air bubbles.
- 3. If desired, sprinkle with sea salt flakes or press additional toppings into the surface.
- 4. Refrigerate for at least 2-3 hours until completely firm, or overnight for best results.
Expert Cooking Tips
Temperature Control
Getting your heat right is crucial for perfect fudge. Always use low to medium-low heat when melting your chocolate mixture. High heat can cause the chocolate to seize or separate, ruining the smooth texture. If you're using a microwave method instead, heat in 30-second intervals, stirring between each burst. The goal is gentle, gradual melting that keeps the chocolate silky smooth.
Stirring Technique
Constant stirring prevents hot spots and ensures even melting throughout. Use a figure-eight motion with your spatula to reach all corners of the pan. Don't rush this step; patience here pays off with incredibly smooth, creamy fudge that has no graininess whatsoever.
Key Success Tips
- Measure ingredients precisely; candy-making requires accuracy
- Don't let any water get into your chocolate as it will cause seizing
- Use real vanilla extract, not imitation, for the best flavor
- Let fudge come to room temperature for 10 minutes before cutting for clean edges
- Warm your knife under hot water and wipe dry between cuts for perfect squares
Storage During Prep
If you're making multiple batches of this fudge recipe, you can prepare several pans at once. The mixture stays workable for about 5-7 minutes after removing from heat, giving you time to add different mix-ins to separate portions for variety.
Recipe Variations & Substitutions
Flavor Variations
- Peanut Butter Swirl: Before refrigerating, drop spoonfuls of melted peanut butter on top and swirl with a knife for beautiful marbled fudge.
- Peppermint Chocolate: Add ½ teaspoon peppermint extract along with vanilla and fold in crushed candy canes for festive holiday treats.
- Rocky Road: Stir in mini marshmallows and chopped almonds for a classic candy bar-inspired version.
- Cookies and Cream: Fold in crushed Oreo cookies for a fun twist kids absolutely love.
Dietary Substitutions
For a vegan fudge recipe, use coconut condensed milk and dairy-free chocolate chips; the results are surprisingly close to traditional fudge. Sugar-free versions work well with sugar-free chocolate chips and sugar-free condensed milk, though the texture may be slightly softer. If you're watching calories, you can use fat-free condensed milk, but expect a slightly less creamy result.
Chocolate Options
Dark chocolate chips create a more sophisticated, less sweet fudge that adults often prefer. White chocolate makes an elegant base for colorful mix-ins like dried cranberries or pistachios. Milk chocolate produces the sweetest, most kid-friendly version. You can even mix different types of chocolate for custom flavor profiles.
Equipment Recommendations
- 8x8-inch square baking pan: The standard size for traditional fudge squares; don't use larger as fudge will be too thin
- Heavy-bottom saucepan: Distributes heat evenly and prevents scorching during melting
- Wooden spoon or silicone spatula: Essential for constant stirring without scratching your cookware
- Parchment paper: Makes removal and cleanup effortless; wax paper works in a pinch
- Sharp knife: A large chef's knife produces the cleanest cuts through set fudge
- Measuring cups and spoons: Accuracy matters in this fudge recipe for consistent results every time
Storage & Meal Prep Tips
Short-Term Storage
Store your finished fudge in an airtight container at room temperature for up to one week. Layer pieces between parchment paper to prevent sticking. For slightly longer storage, refrigerate in an airtight container for up to three weeks. Fudge actually tastes best when served at room temperature, so remove from the fridge 15-20 minutes before serving for optimal texture and flavor.
Freezing Instructions
This fudge recipe freezes beautifully for up to three months. Cut into squares and wrap individual pieces in plastic wrap, then store in a freezer-safe container or bag. Freeze pieces on a parchment-lined baking sheet first, then transfer to a container to prevent them from sticking together. Thaw at room temperature for about 30 minutes before enjoying.
Meal Prep Tips
Making fudge ahead for holidays or gifts? Prepare batches 2-3 weeks in advance and store in the freezer. Cut into gift-sized portions and wrap in decorative cellophane bags with ribbon. For variety, make several flavor variations using this same base fudge recipe and package assortments together.
The One Secret That Makes All the Difference
Here's something my grandmother taught me that transformed my fudge-making forever: let your condensed milk sit at room temperature for 30 minutes before starting. Cold condensed milk can cause the chocolate to seize or create temperature shock that leads to grainy texture. This simple step ensures everything melts together smoothly and evenly. The second game-changing tip is to add a tablespoon of butter along with your chocolate chips. While not traditional, this tiny addition creates an ultra-silky texture and prevents the fudge recipe from becoming too hard or brittle in the refrigerator. These two tricks are the difference between good fudge and absolutely phenomenal fudge that people beg you to make again and again.
FAQ
What are the ingredients for fudge?
The basic fudge recipe requires just three core ingredients: chocolate chips (semi-sweet, milk, or dark), sweetened condensed milk, and vanilla extract. Optional additions include nuts, marshmallows, sea salt, or other mix-ins to customize your fudge to your preference.
What is the secret to good fudge?
The secret to perfect fudge recipe success is using low heat and constant stirring to melt the chocolate smoothly without overheating. Additionally, using room temperature condensed milk and not rushing the setting time in the refrigerator ensures the ideal creamy texture every time.
What is the main ingredient in traditional fudge?
Sugar is the main ingredient in traditional old-fashioned fudge recipes, which require careful temperature monitoring. However, this modern fudge recipe uses sweetened condensed milk as the primary ingredient, which contains sugar but eliminates the tricky temperature work.
What are the three ingredients in fudge?
This simple fudge recipe uses three essential ingredients: chocolate chips (typically 3 cups), one can of sweetened condensed milk (14 oz), and vanilla extract (1 teaspoon). These three components combine to create rich, creamy fudge without complicated candy-making techniques.
Bringing It All Together: Your Perfect Fudge Journey
You now have everything you need to create incredible homemade fudge that'll impress everyone who tries it. This fudge recipe is foolproof, delicious, and endlessly customizable to suit any occasion or preference. Once you master the basic technique, you'll find yourself making batch after batch, experimenting with different flavors and mix-ins. The joy of sharing homemade fudge with friends and family never gets old, and the compliments you'll receive make every minute worthwhile.
Don't stop here though! If you loved this fudge recipe, you'll definitely want to try our Hot Fudge Sauce Recipe that's perfect for drizzling over ice cream or dipping fresh strawberries. And for another chocolate treat that uses similar techniques, check out our Crunch Bars Recipe that delivers that satisfying snap with every bite. Both recipes are just as easy as this fudge recipe and perfect for expanding your homemade candy repertoire. Now grab your ingredients, clear some space in your refrigerator, and get ready to make the best fudge you've ever tasted!
With love from my kitchen to yours,
Aubrey James
Related
Looking for other recipes like this? Try these:


Pairing
These are my favorite dishes to serve with this fudge recipe:


Chocolate Fudge Recipe
Equipment
- 8x8 inch square baking pan
- Parchment paper
- Heavy-bottom saucepan
- Wooden spoon or silicone spatula
- Measuring cups and spoons
- Sharp knife
Ingredients
Main Ingredients
- 3 cups semi-sweet chocolate chips
- 14 oz sweetened condensed milk 1 can
- 1 teaspoon pure vanilla extract
Optional Add-ins
- 1 cup chopped walnuts or pecans optional
- 1 cup mini marshmallows optional
- 0.5 cup crushed peppermint candies optional
- 0.5 cup peanut butter chips optional
- sea salt flakes for topping, optional
Instructions
- Line an 8x8 pan with parchment paper and lightly spray with non-stick spray.
- In a heavy-bottom saucepan, combine chocolate chips and condensed milk over low heat. Stir constantly until smooth and fully melted.
- Remove from heat, stir in vanilla extract and any optional mix-ins.
- Spread mixture into prepared pan. Smooth the top, sprinkle with sea salt flakes if desired, and chill for 2–3 hours until firm.


Leave a Reply