
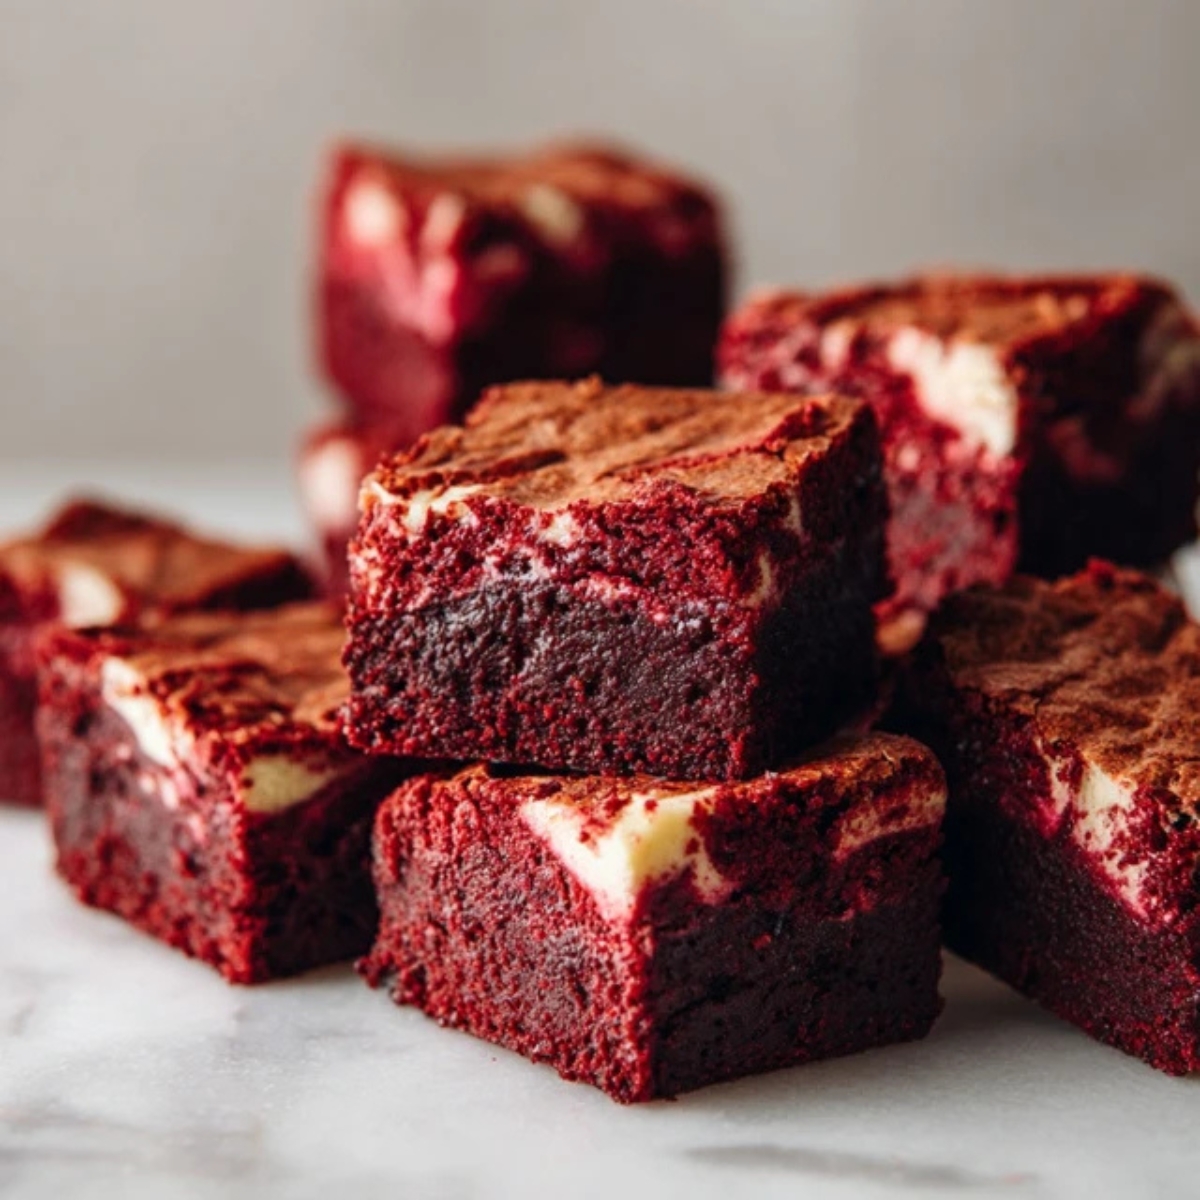
Hey there, dessert lover! If you've been searching for the ultimate red velvet brownies that combine the velvety smoothness of classic red velvet cake with the rich, fudgy texture of traditional brownies, you've just hit the jackpot. These red velvet brownies are my absolute go-to when I want to impress guests or simply treat myself to something extraordinary. The gorgeous crimson color, the hint of cocoa, and that irresistible cream cheese swirl make these brownies the star of any dessert table.
I've spent years perfecting this red velvet brownies recipe, and let me tell you, once you make these beauties, you'll never look at regular brownies the same way again. Whether you're preparing for Valentine's Day, a holiday gathering, or just craving something special on a random Tuesday, these red velvet brownies deliver every single time. Trust me, this recipe is about to become your new signature dessert!
Background & Why This Recipe Stands Out
Red velvet brownies have taken the baking world by storm, and for good reason. They combine two beloved desserts into one spectacular treat that's perfect for celebrations, gift-giving, or satisfying your sweet tooth. What makes this particular red velvet brownies recipe special is the perfect balance of cocoa flavor, the tender crumb that melts in your mouth, and that stunning ruby-red color that makes everyone stop and stare.
Unlike many recipes that rely solely on box mixes, this homemade version gives you complete control over texture and flavor. The secret lies in using buttermilk for tang, high-quality cocoa powder for depth, and just the right amount of red food coloring for that signature look. These red velvet brownies strike the perfect balance between cake-like and fudgy, creating a texture that's absolutely divine. Plus, the optional cream cheese swirl takes them from delicious to absolutely unforgettable!
Jump to:
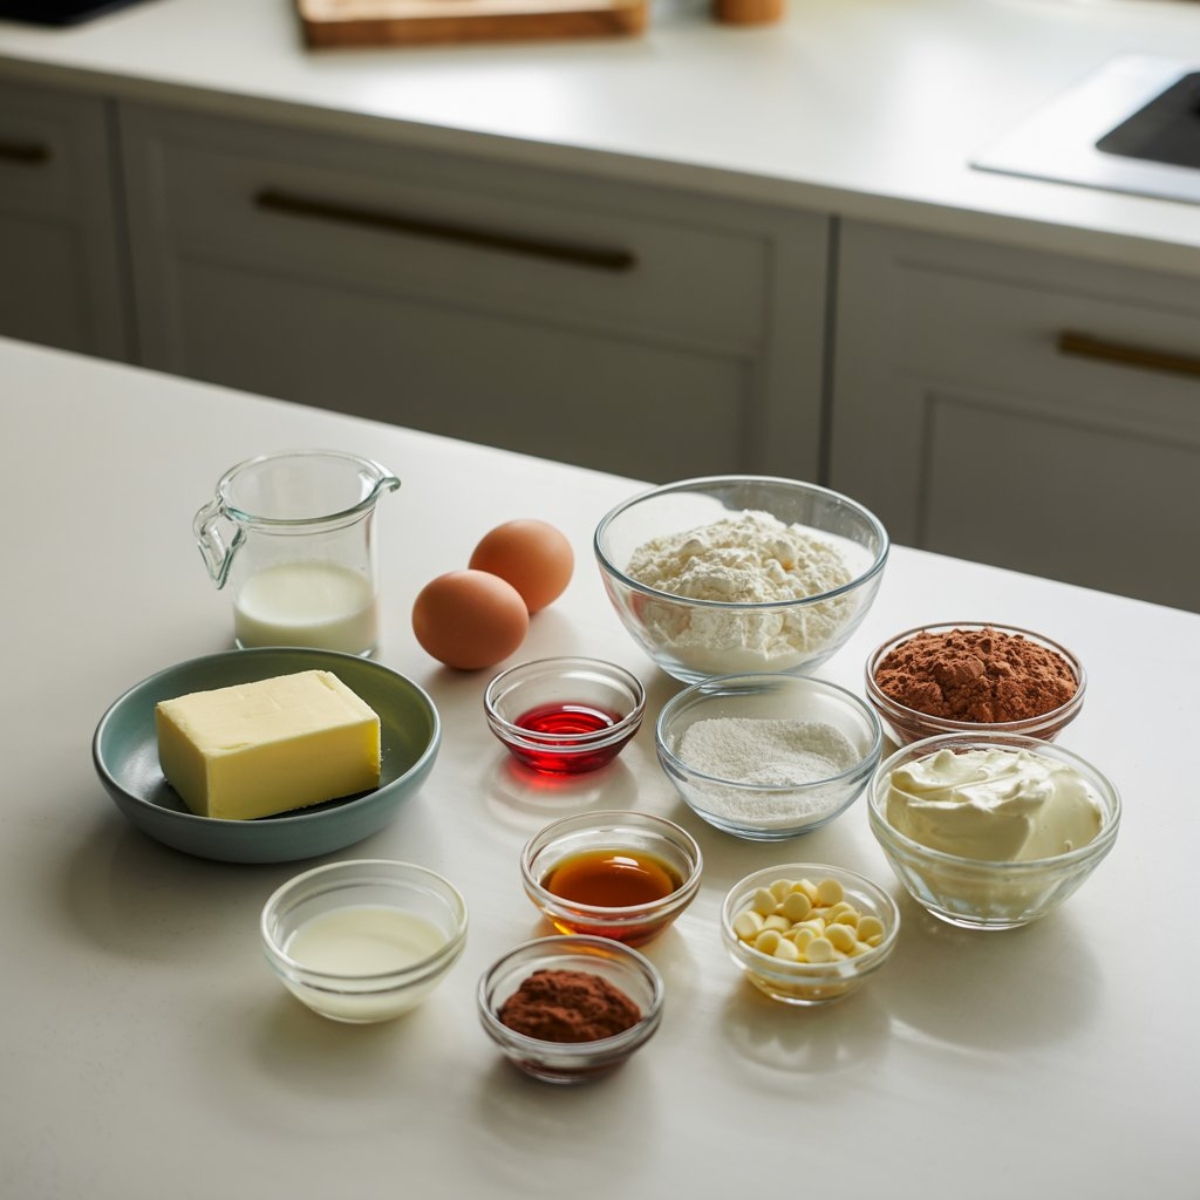
Ingredients
For the Red Velvet Brownie Base:
- Unsalted butter, melted
- Granulated sugar
- Eggs, room temperature
- Vanilla extract
- Red food coloring (gel or liquid)
- All-purpose flour
- Unsweetened cocoa powder
- Salt
- White vinegar
- Buttermilk
- White chocolate chips (optional)
For the Cream Cheese Swirl (Optional):
- Cream cheese, softened
- Granulated sugar
- Egg
- Vanilla extract
See recipe card for quantities.
Instructions
Step 1: Prepare Your Pan and Preheat
- Preheat your oven to 350°F (175°C).
- Line a 9x13-inch baking pan with parchment paper, leaving overhang on the sides for easy removal.
- Lightly grease the parchment paper with butter or cooking spray.
- Set aside while you prepare the batter.
Step 2: Mix the Wet Ingredients
- In a large mixing bowl, whisk together the melted butter and sugar until well combined.
- Add eggs one at a time, beating well after each addition.
- Stir in vanilla extract, red food coloring, and white vinegar until the mixture is smooth and vibrant.
- Pour in the buttermilk and mix until fully incorporated.
Step 3: Combine Dry Ingredients and Create Batter
- In a separate bowl, sift together flour, cocoa powder, and salt.
- Gradually fold the dry ingredients into the wet mixture, stirring just until no flour streaks remain.
- Be careful not to overmix; the batter should be thick and glossy.
- If using, gently fold in white chocolate chips.
- Pour the red velvet brownies batter into your prepared pan, spreading evenly.
Step 4: Add Cream Cheese Swirl and Bake
- If making the cream cheese swirl, beat softened cream cheese with sugar until smooth.
- Add the egg and vanilla, mixing until creamy.
- Drop spoonfuls of the cream cheese mixture over the brownie batter.
- Use a knife or skewer to create swirl patterns by dragging through both layers.
- Bake for 30-35 minutes, until edges are set and a toothpick inserted in the center comes out with a few moist crumbs.
- Remove from oven and let cool completely in the pan before cutting into squares.
Expert Cooking Tips
Getting your red velvet brownies absolutely perfect requires a few insider tricks that make all the difference. Here's what I've learned from making these countless times.
- Temperature Matters Always bring your eggs and buttermilk to room temperature before mixing. Cold ingredients don't blend as smoothly and can result in a dense texture. I usually set mine out about 30 minutes before I start baking.
- Don't Overbake The key to fudgy red velvet brownies is pulling them from the oven when they still look slightly underdone in the center. They'll continue cooking as they cool, and you'll end up with that perfect gooey texture instead of dry, cake-like brownies.
- Quality Cocoa Powder Using Dutch-processed cocoa powder gives you a richer, more sophisticated flavor compared to natural cocoa. It's worth the investment for these special brownies.
- Food Coloring Tips Gel food coloring provides more vibrant color with less liquid, which is ideal for maintaining the right batter consistency. Start with less than you think you need; you can always add more.
- The Vinegar Secret That tablespoon of vinegar might seem odd, but it reacts with the buttermilk to create a tender crumb and enhances the red color. Don't skip it!
- Swirl Technique When creating your cream cheese swirl, don't over-swirl. A few artistic swoops look better and taste better than a completely mixed mess.
Recipe Variations & Substitutions
One of the best things about this recipe is how adaptable it is to different dietary needs and flavor preferences.
- Gluten-Free Red Velvet Brownies Substitute the all-purpose flour with a 1:1 gluten-free baking flour blend. Bob's Red Mill and King Arthur both make excellent options that work perfectly in this recipe without any other modifications needed.
- Vegan Red Velvet Brownies Replace eggs with flax eggs (3 tablespoons ground flaxseed mixed with 9 tablespoons water). Use dairy-free butter and substitute the buttermilk with almond milk mixed with 1 tablespoon apple cider vinegar. Use vegan cream cheese for the swirl.
- Keto-Friendly Version Swap granulated sugar with a keto-approved sweetener like erythritol or monk fruit sweetener. Replace regular flour with almond flour (note: texture will be denser but still delicious).
- Flavor Variations Try adding crushed Oreos on top for red velvet Oreo brownies, or fold in white chocolate chips and pecans for extra decadence. You can also add a layer of chocolate ganache on top once cooled.
- Box Mix Shortcut If you're short on time, use a red velvet cake mix. Prepare according to brownie instructions (usually requires less liquid than cake instructions), and add the cream cheese swirl as directed above.
Equipment Recommendations
Having the right tools makes creating perfect red velvet brownies so much easier:
- 9x13-inch Metal Baking Pan: Metal conducts heat better than glass, giving you evenly baked brownies with perfect edges.
- Parchment Paper: Essential for easy removal and clean cuts.
- Electric Mixer: While you can mix by hand, a stand mixer or hand mixer makes the cream cheese swirl silky smooth.
- Wire Cooling Rack: Allows air circulation underneath for even cooling.
- Sharp Knife: A thin, sharp knife dipped in hot water makes clean cuts through these rich brownies.
- Offset Spatula: Perfect for spreading batter evenly and creating smooth tops.
Storage & Meal Prep Tips
Proper storage keeps your red velvet brownies fresh and delicious for days.
- Room Temperature Storage Store brownies in an airtight container at room temperature for up to 3 days. Layer parchment paper between stacked brownies to prevent sticking.
- Refrigerator Storage Because of the cream cheese swirl, these brownies should be refrigerated if you're keeping them longer than 3 days. They'll stay fresh for up to one week in the fridge. Bring to room temperature before serving for the best texture.
- Freezing Instructions These red velvet brownies freeze beautifully! Wrap individual brownies in plastic wrap, then place in a freezer-safe container or bag. They'll keep for up to 3 months. Thaw overnight in the refrigerator or at room temperature for 2-3 hours.
- Make-Ahead Tips You can prepare the brownie batter and cream cheese mixture separately up to 24 hours in advance. Store both in the refrigerator, then bring to room temperature before assembling and baking.
- Serving Suggestions For an extra-special presentation, warm brownies slightly in the microwave (10-15 seconds) and serve with vanilla ice cream, whipped cream, or a drizzle of white chocolate sauce.
The Secret That Changes Everything
Here's something my grandmother taught me that transforms good red velvet brownies into extraordinary ones: add a teaspoon of espresso powder to your dry ingredients. I know it sounds strange, but this tiny addition doesn't make your brownies taste like coffee at all. Instead, it deepens the chocolate flavor and makes that cocoa really sing. The red velvet brownies develop this incredible richness that people can't quite put their finger on, but they always ask what makes them so special.
Another game-changer? Let your batter rest for 10 minutes before baking. This allows the flour to fully hydrate and the leavening to activate, resulting in red velvet brownies with an even more tender, melt-in-your-mouth texture. These two simple tricks have made my recipe the most requested dessert at every family gathering, and now you're in on the secret too!
FAQ
How to make red velvet brownies?
To make red velvet brownies, combine melted butter with sugar, eggs, vanilla, and red food coloring. Mix in buttermilk and vinegar for tang, then fold in flour, cocoa powder, and salt. Pour into a prepared pan, optionally add cream cheese swirl, and bake at 350°F for 30-35 minutes until edges are set.
Why add vinegar to red velvet brownies?
Vinegar reacts with buttermilk to create a tender, moist texture in red velvet brownies. It also helps activate the red food coloring, making the color more vibrant and stable during baking. Additionally, the acid enhances the subtle cocoa flavor without making the brownies taste sour.
What's the difference between red velvet and brownies?
Red velvet brownies combine elements of both desserts. Traditional brownies are chocolate-forward and dense, while red velvet features subtle cocoa flavor, buttermilk tang, and that signature red color. Red velvet brownies merge these characteristics, creating a fudgy texture with the distinctive red velvet taste and appearance.
What flavors go best with red velvet?
Red velvet brownies pair beautifully with cream cheese, white chocolate, vanilla, and tangy citrus flavors like lemon. Nuts like pecans or walnuts add nice texture contrast. For beverages, try them with coffee, hot chocolate, or sweet dessert wines. Fresh berries like strawberries or raspberries complement the subtle chocolate notes perfectly.
Let's Make Magic Together
You've got everything you need to create show-stopping red velvet brownies that'll have everyone begging for the recipe! These gorgeous dessert bars combine the best of both worlds with rich, fudgy texture and that classic red velvet flavor we all love. Whether you're baking for a special occasion or just because, these red velvet brownies never disappoint.
Once you've mastered this recipe, why not explore more red velvet creations? Try the Red Velvet Lava Cake Recipe for an impressive dinner party dessert with a molten center, or whip up some Red Velvet Pancakes Recipe for a breakfast that feels like dessert. Both recipes capture that same irresistible red velvet brownies flavor in totally new forms. Now get in that kitchen and start baking; your taste buds are about to thank you!
With love from my kitchen to yours,
Aubrey James
Related
Looking for other recipes like this? Try these:


Pairing
These are my favorite dishes to serve with this red velvet brownies recipe:


Red Velvet Brownies Recipe
Equipment
- 9x13 inch metal baking pan For even baking
- Parchment paper For easy brownie removal
- Electric mixer To blend batter and swirl smoothly
- Mixing bowls Separate for wet and dry ingredients
- Wire cooling rack For cooling evenly
- Offset spatula To spread batter
- Sharp knife For clean cuts
Ingredients
For the Red Velvet Brownie Base
- 1 cup (2 sticks) unsalted butter, melted cooled slightly
- 2 cups granulated sugar
- 4 large eggs room temperature
- 2 teaspoons vanilla extract
- 1 tablespoon red food coloring gel or liquid
- 1½ cups all-purpose flour sifted
- ¼ cup unsweetened cocoa powder preferably Dutch-processed
- 1 teaspoon salt
- 1 teaspoon white vinegar enhances color and texture
- ½ cup buttermilk room temperature
- 1 cup white chocolate chips optional
For the Cream Cheese Swirl (Optional)
- 8 oz cream cheese, softened
- ¼ cup granulated sugar
- 1 large egg
- 1 teaspoon vanilla extract
Instructions
- Preheat oven to 350°F (175°C) and line a 9x13-inch pan with parchment paper.
- Whisk melted butter and sugar until smooth, then add eggs, vanilla, food coloring, and vinegar.
- Add buttermilk and stir until combined.
- Sift flour, cocoa, and salt; fold into wet ingredients.
- Pour batter into pan and smooth the top.
- For the swirl, beat cream cheese, sugar, egg, and vanilla until creamy.
- Drop spoonfuls over batter and swirl gently with a knife.
- Bake 30–35 minutes until edges are set and center slightly soft.
- Cool completely before cutting into squares.


Leave a Reply